CS 194-26 Project 1 - Images of a Russian Empire


Overview
Even before true color photography was invented, Sergei Mikhailovich Prokudin-Gorskii, used a clever trick to take "colored photos" all around Russia. Sergei's "colored photos" were based around a simple idea: the three-color principle, the idea that all color could be represented as an additon between different levels of red, green, and blue. For each colored photograph, Sergeit' took three pictures as identically as possible using a red, a green, and a blue filter. The resulting photographs could be projected through filters of the same color onto a surface to be viewed in color. Alternatively, as shown in this project, the three images can be superposed digitally create impressively realistic color photographs.
Algorithm
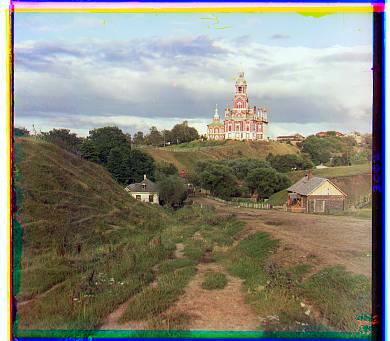
The core part of this problem is to overlay the three photos, each representing a different color channel, to create a colored image. This is not as easy as it may seem since the three pictures are not perfectly identical. Each picture may have slight shifts in angles, displacement, sizing, or lightning. As result when attempting to just naively stack each third of the image together, you get something that looks what you would see at a 3D movie (middle image above).
In order to align the images, we need some measure of similarity between two images. Two simple metrics for that task are the Sum of Squared Distances (SSD) and Normalized Cross-Correlation (NCC). SSD is essentially what it sounds like: you take the difference between the two images (represented as matrices), square each entry, and then sum overlay all of the entires. The smaller the SSD the more simimlar the images are. Normalized Cross-Corrleation involves flattening the image matrices, normalizing them, and then taking the dot product between them. In this case, the larger the NCC, the more similar the images are. While I tried using both, I got nearly the exact same for both metrics. As a result, I just report the SSD results below since NCC was a little slower to calculate. We align two images by finding the displacement that maximizes their similarity (note: cropped a smalle percent of each side of the image to ignore the borders when aligning). After that, the algorithm is simple, we just need to search over an appropriate window of possible displacements to align two of the channels to one of the other channels.
This approach, however, does not work on well large images since we would need to search over a much larger window and the fact that displacing and calculating the SSD for a large image takes much longer. As a result, I implemented a an image pyramid to speed up the computate with a coarse to fine approach. An image pyramid is a multiscale respresentation of an image. At the bottom level, we have the original large image, then as we traverse the pyramid upwards we encounter smaller and smaller versions of the image depending on some scaling factor (2 in this project). The idea is to start at top / smallest layer of the pyramid and align the images. Because the image is small, We can quickly get our required image displacements. Then, we move down one layer in the pyramid, scaling our displacements appropriately. We then adjust are displacement to improve it based on this scaled displacement. We repeat this until the original image is reached and aligned. The speedup comes from the fact that we can now search over a much smaller window of displacements and get good results.
Results
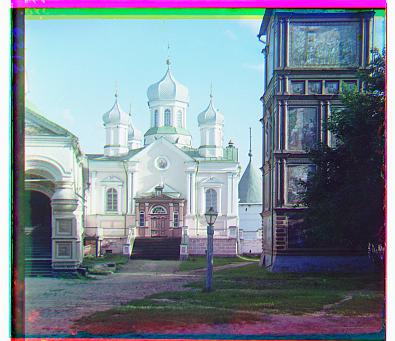
The resulting images can be seen below. Each image is labeled with a caption indicating the displacement of the red and green channels. The displacements are repreented by tuple (x, y) where a positive x indicates displacement to the right and a postive y indicates displacement downwards.
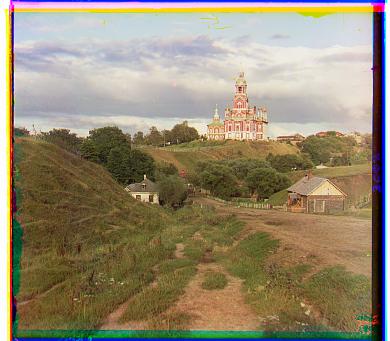
Red Displacement: (3, 12), Green Displacement: (2, 5)
Red Displacement: (0, 8), Green Displacement: (1, 3)
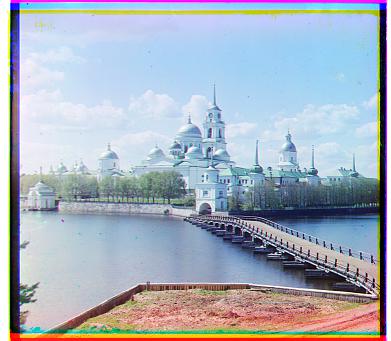
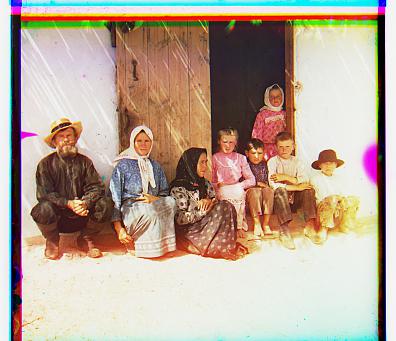
Red Displacement: (2, 3), Green Displacement: (, 2 3)
Red Displacement: (,1 -15), Green Displacement: (0, 7)
Red Displacement: (23, 90), Green Displacement: (17, 42)
Red Displacement: (13, 119), Green Displacement: (9, 56)
Red Displacement: (21, 137), Green Displacement: (10, 64)
Red Displacement: (9, 119), Green Displacement: (12, 53)
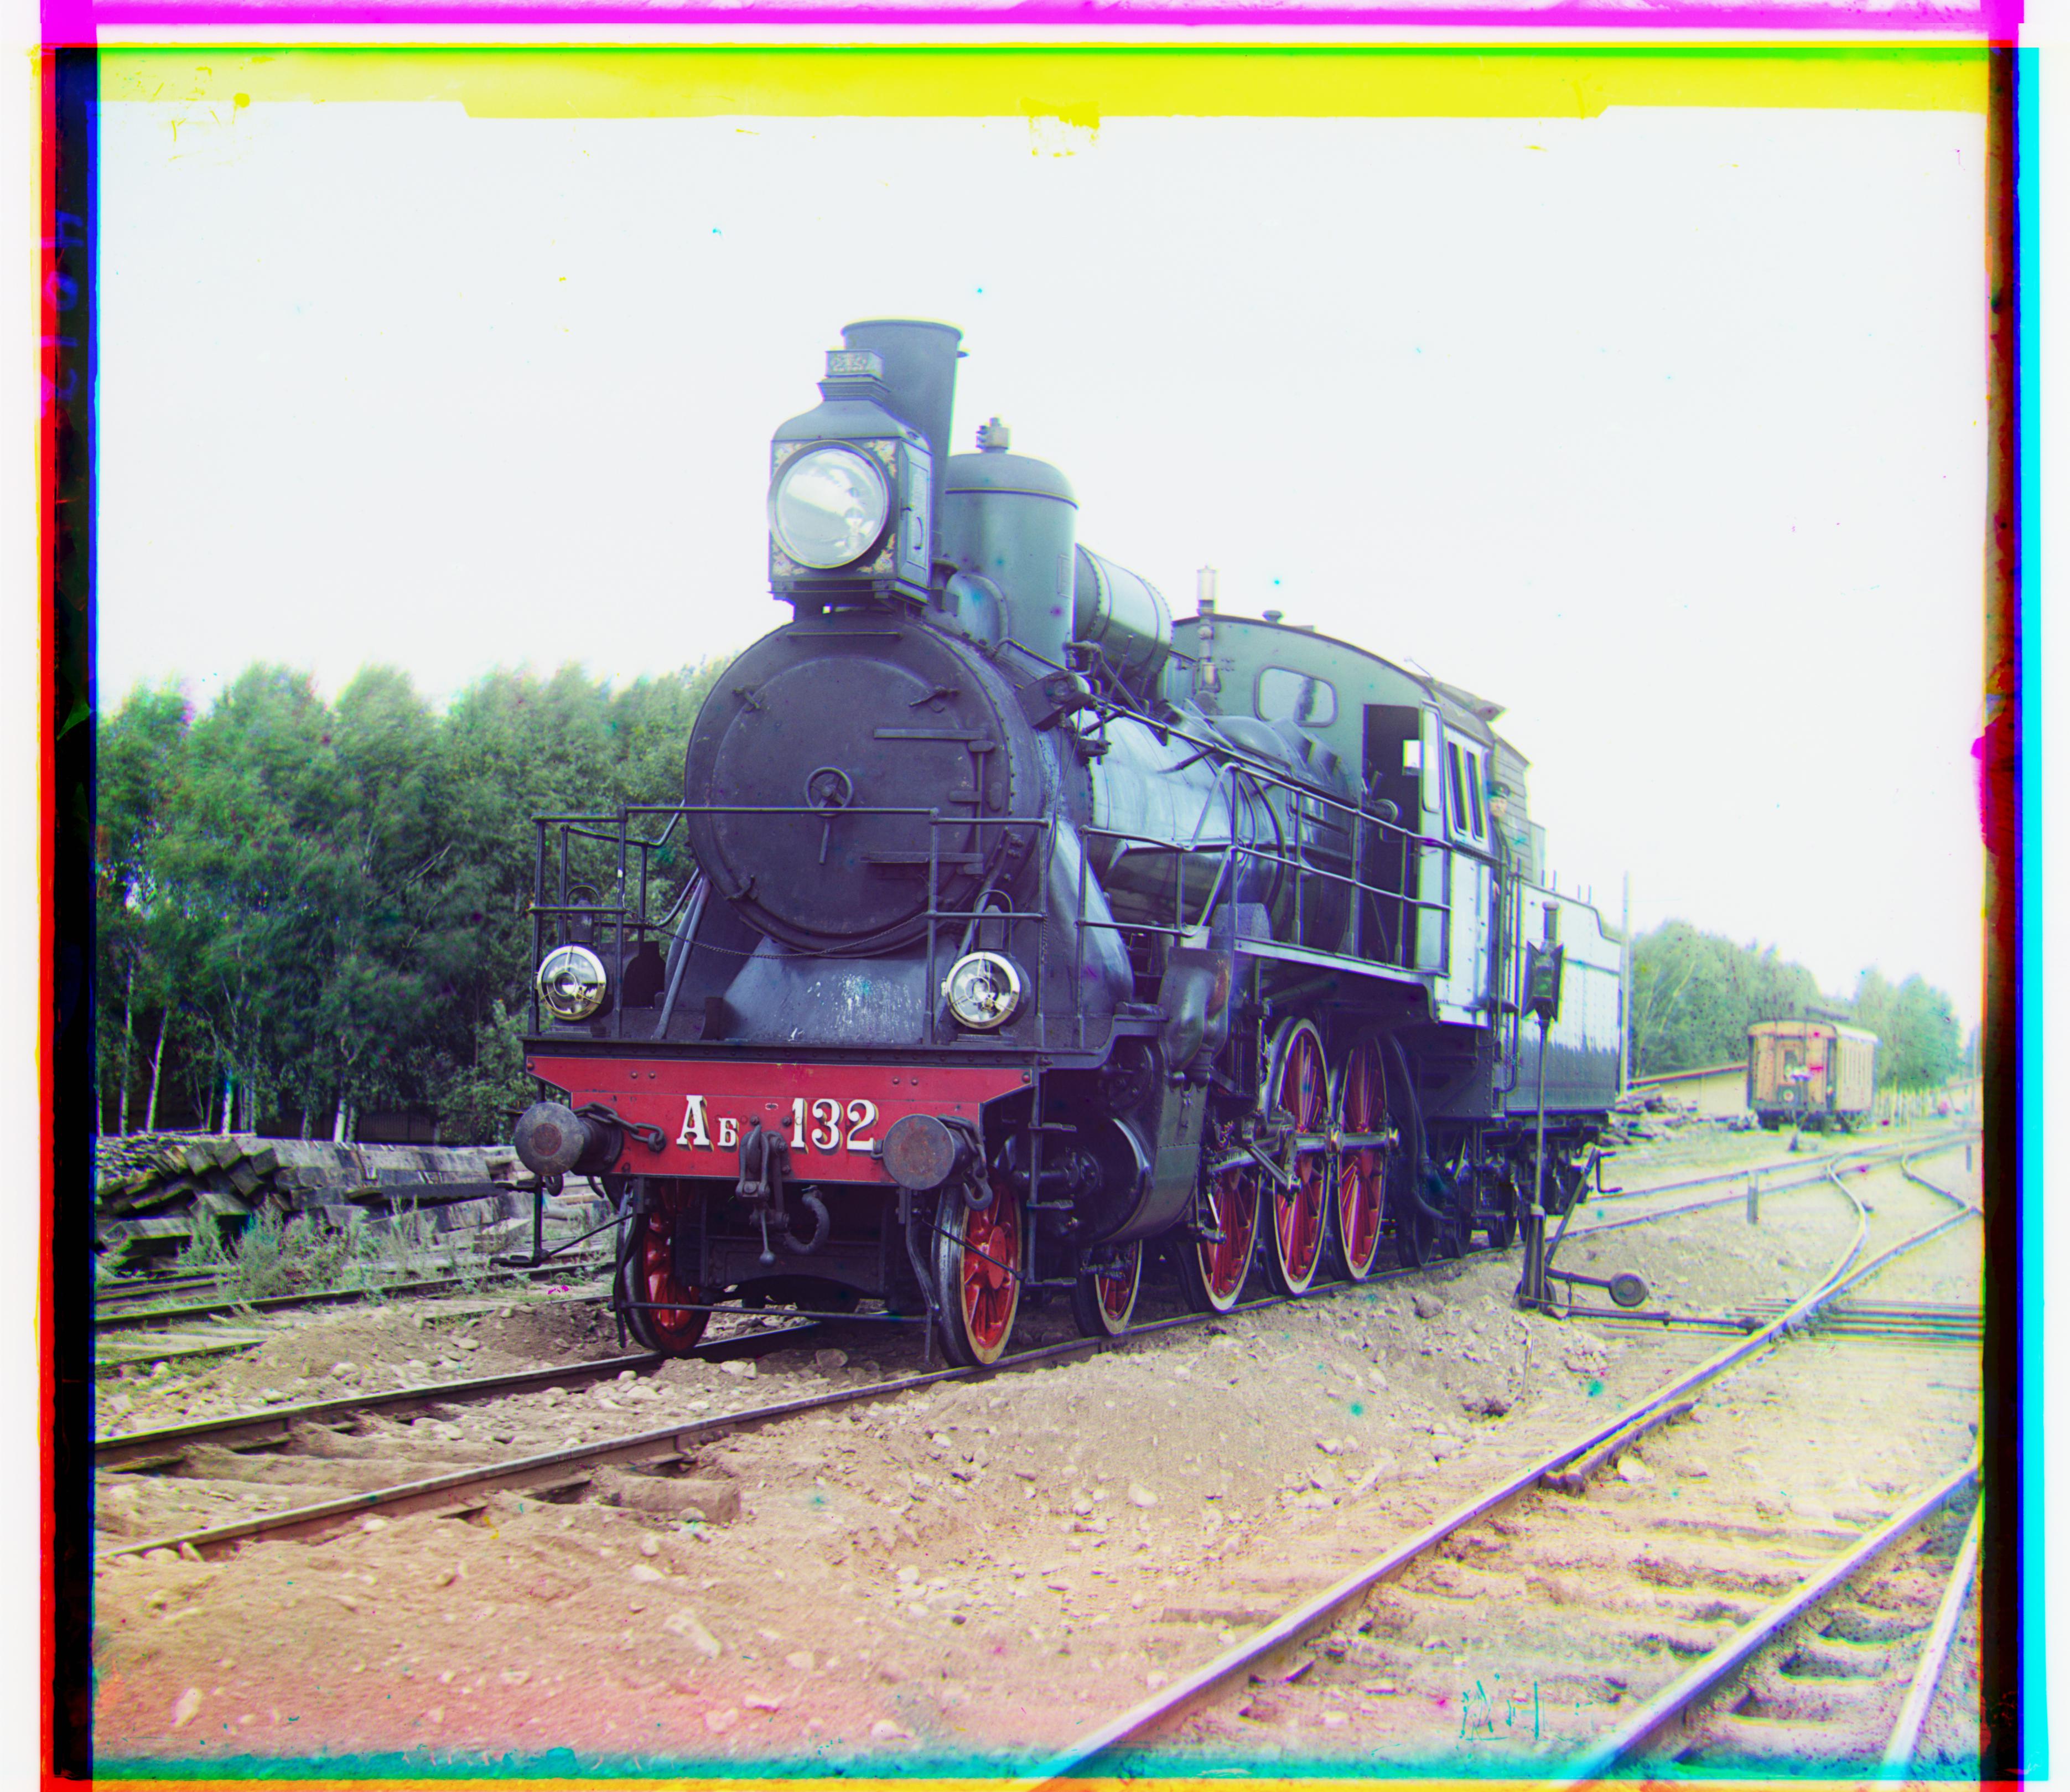
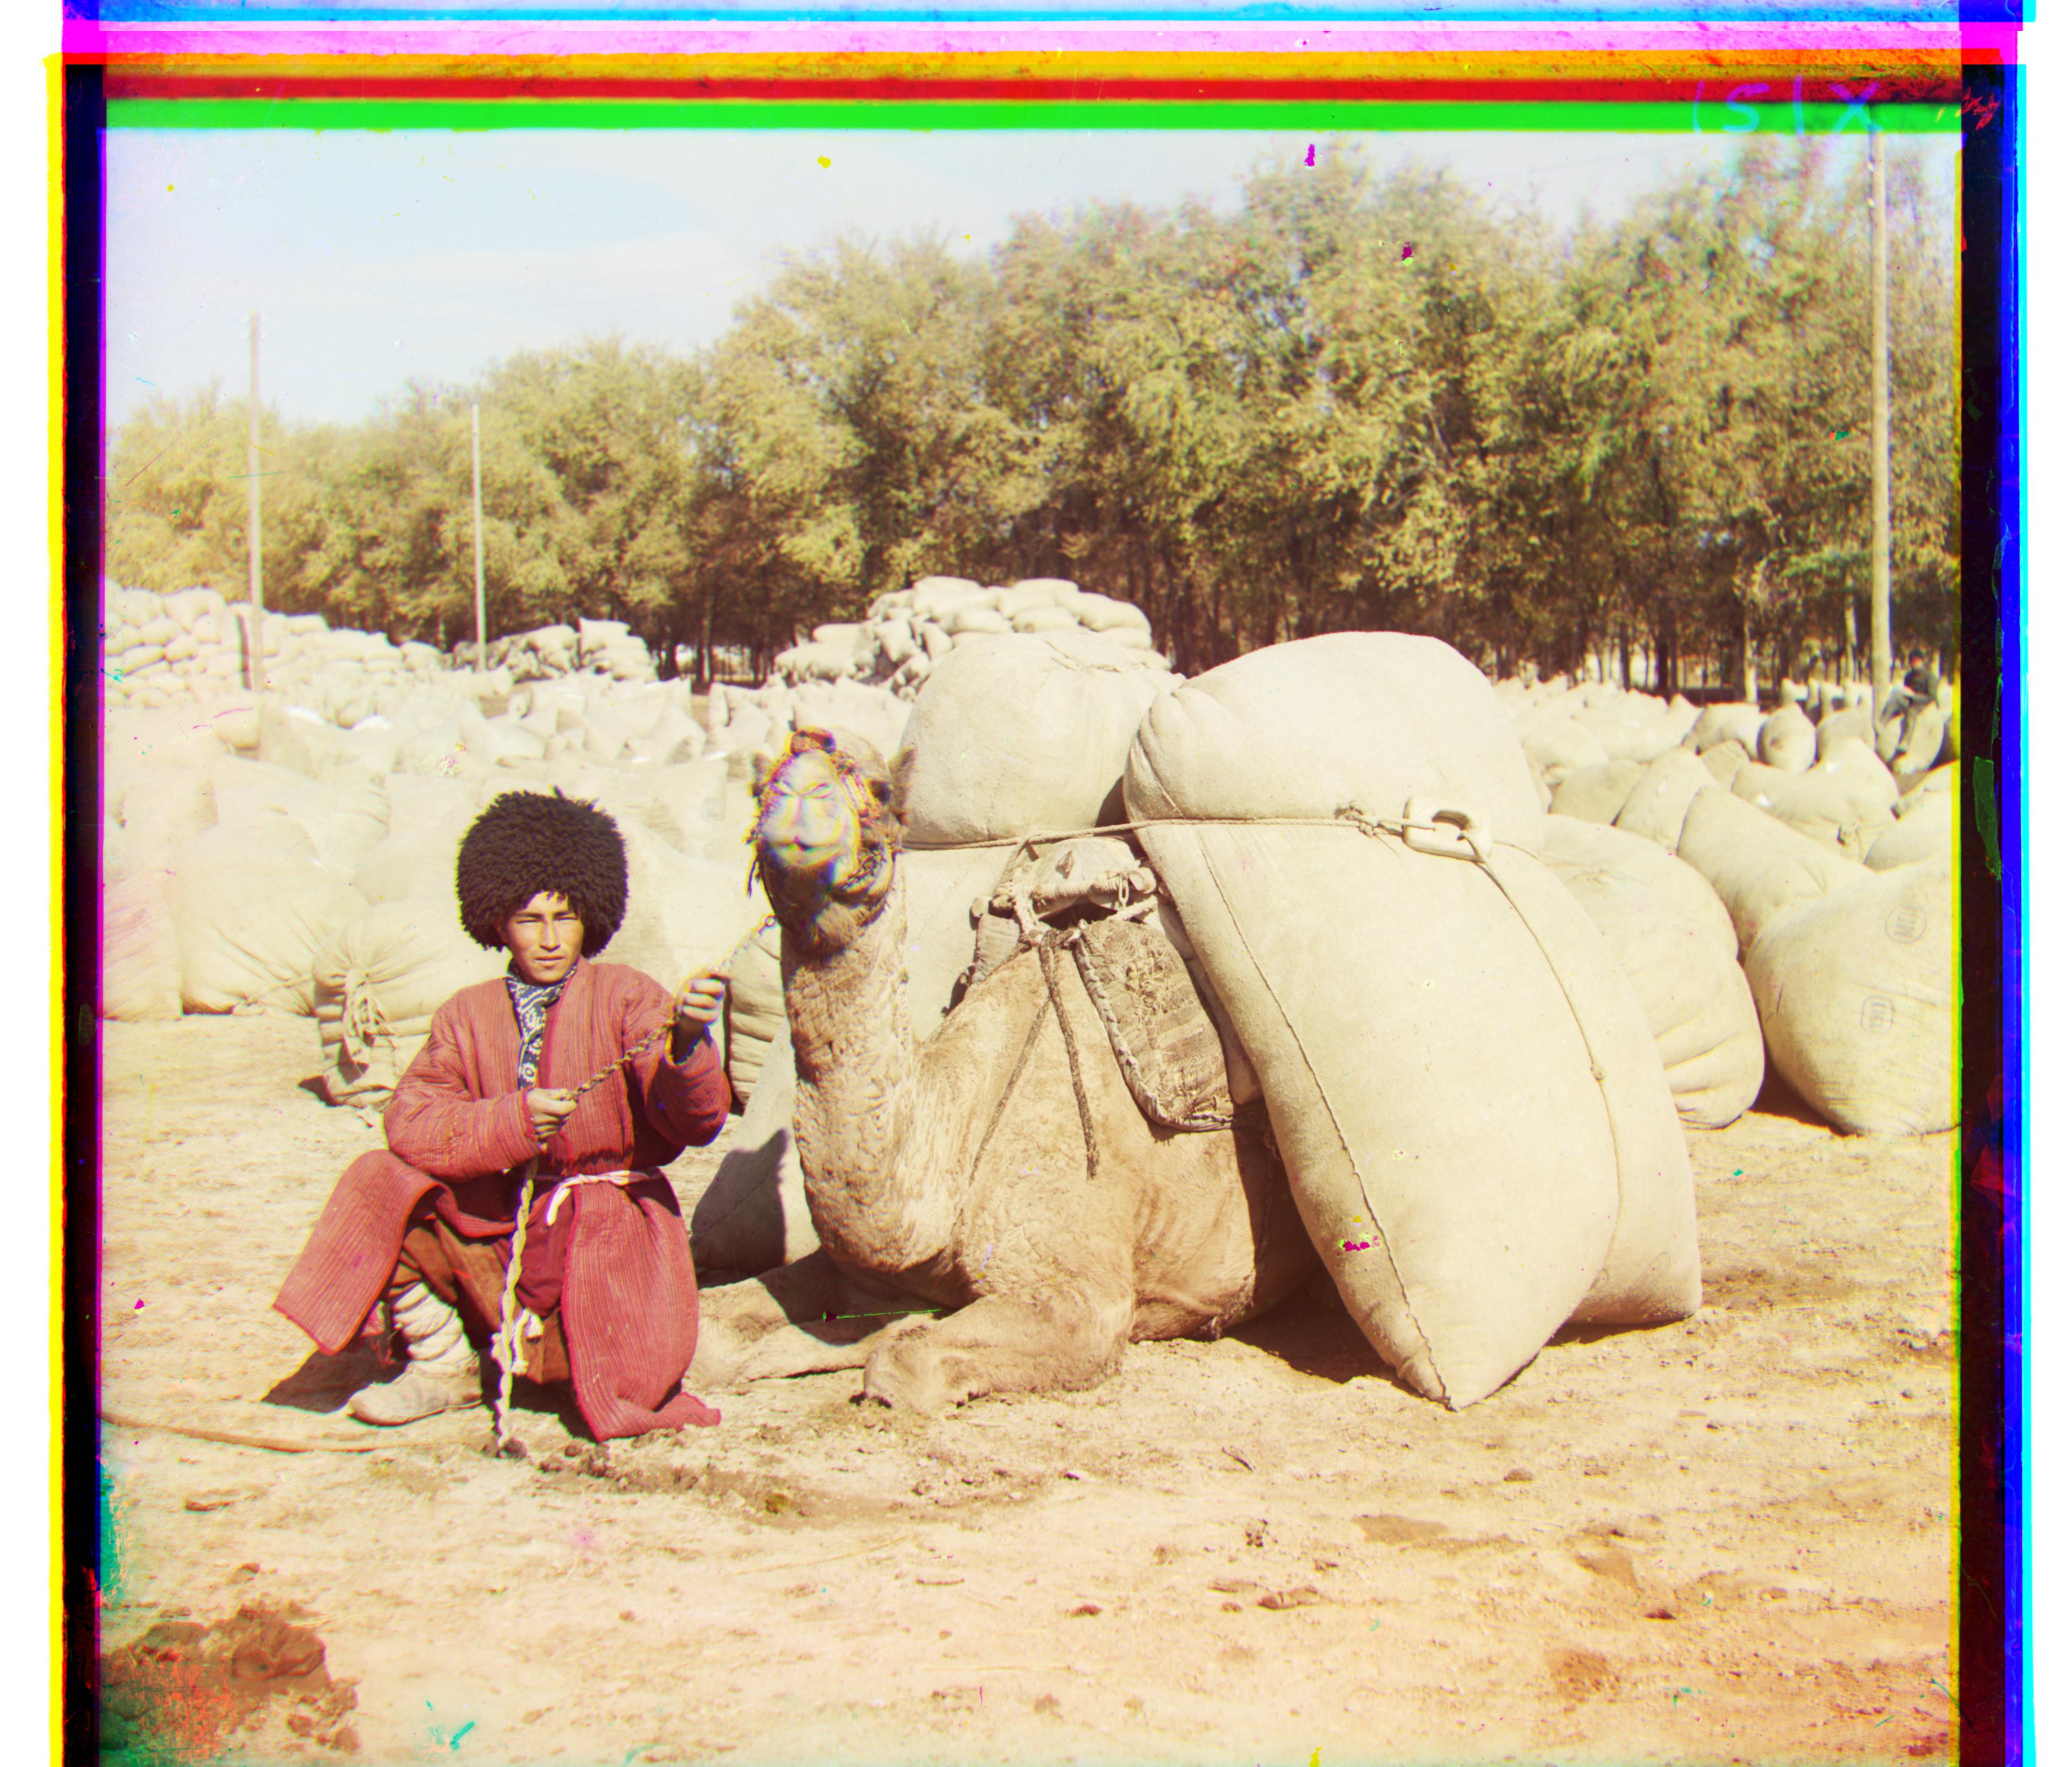
Red Displacement: (29, 86), Green Displacement: (2, 42)
Red Displacement: (28, 117), Green Displacement: (22, 56)
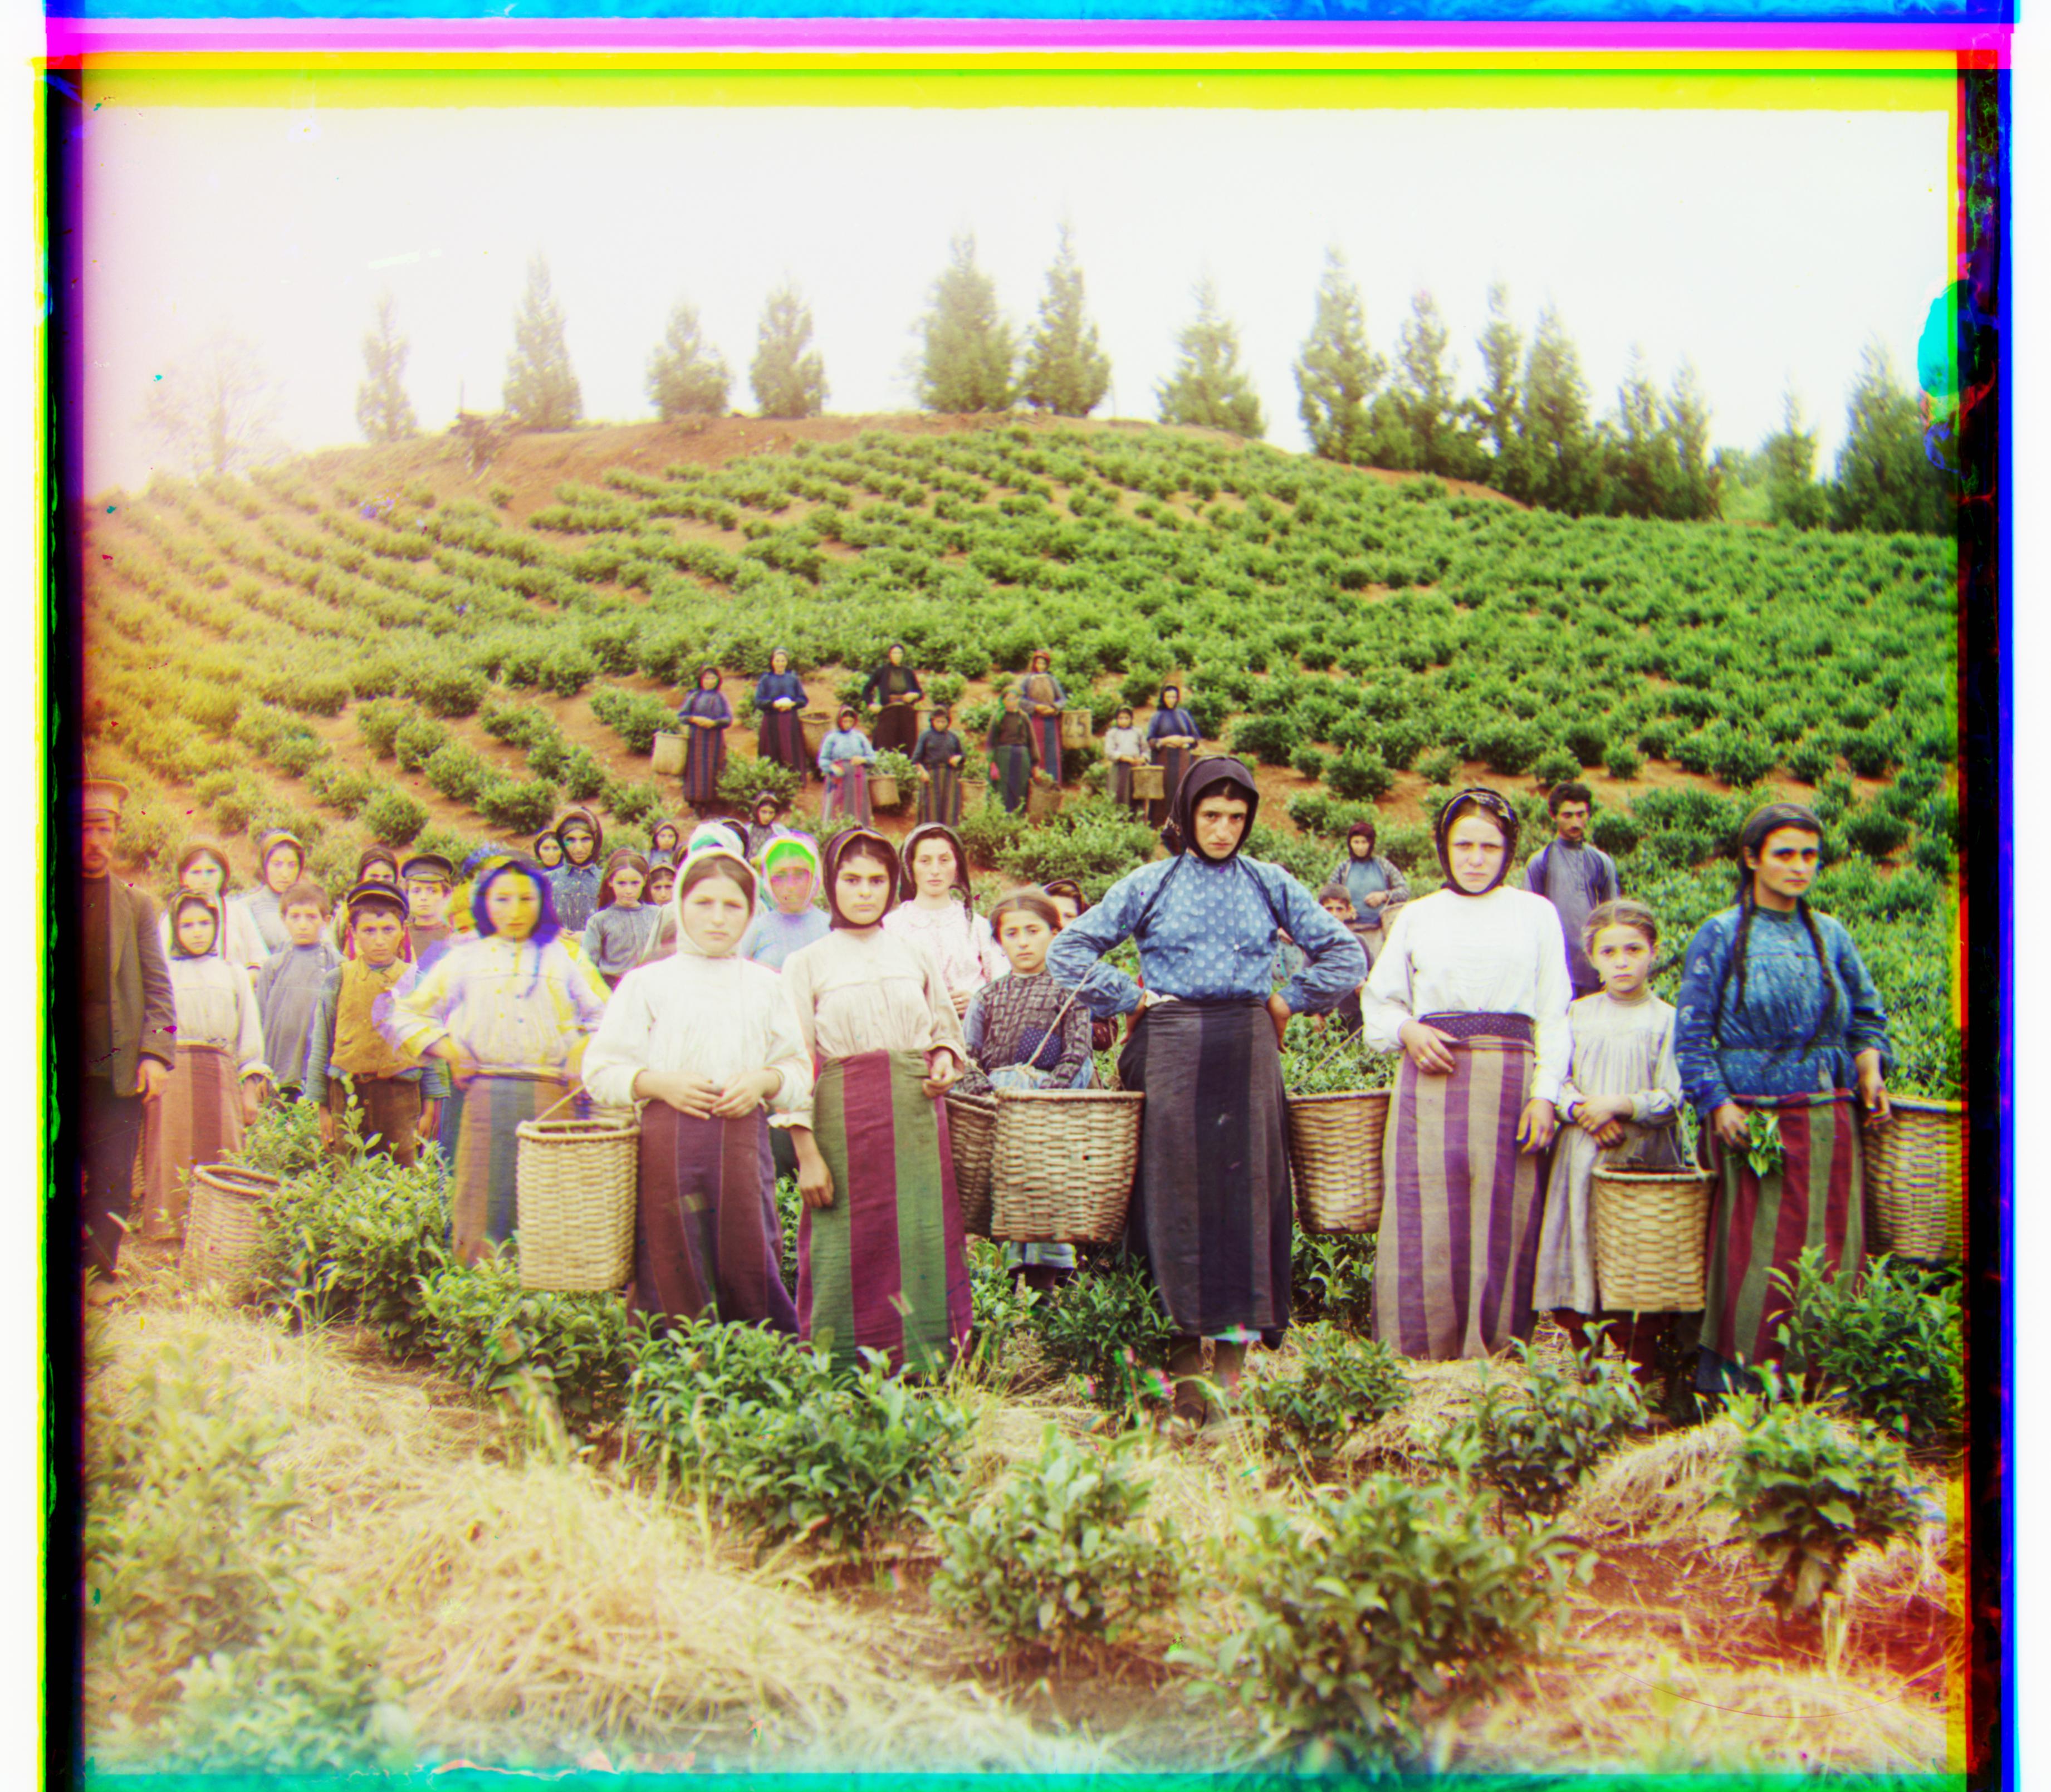
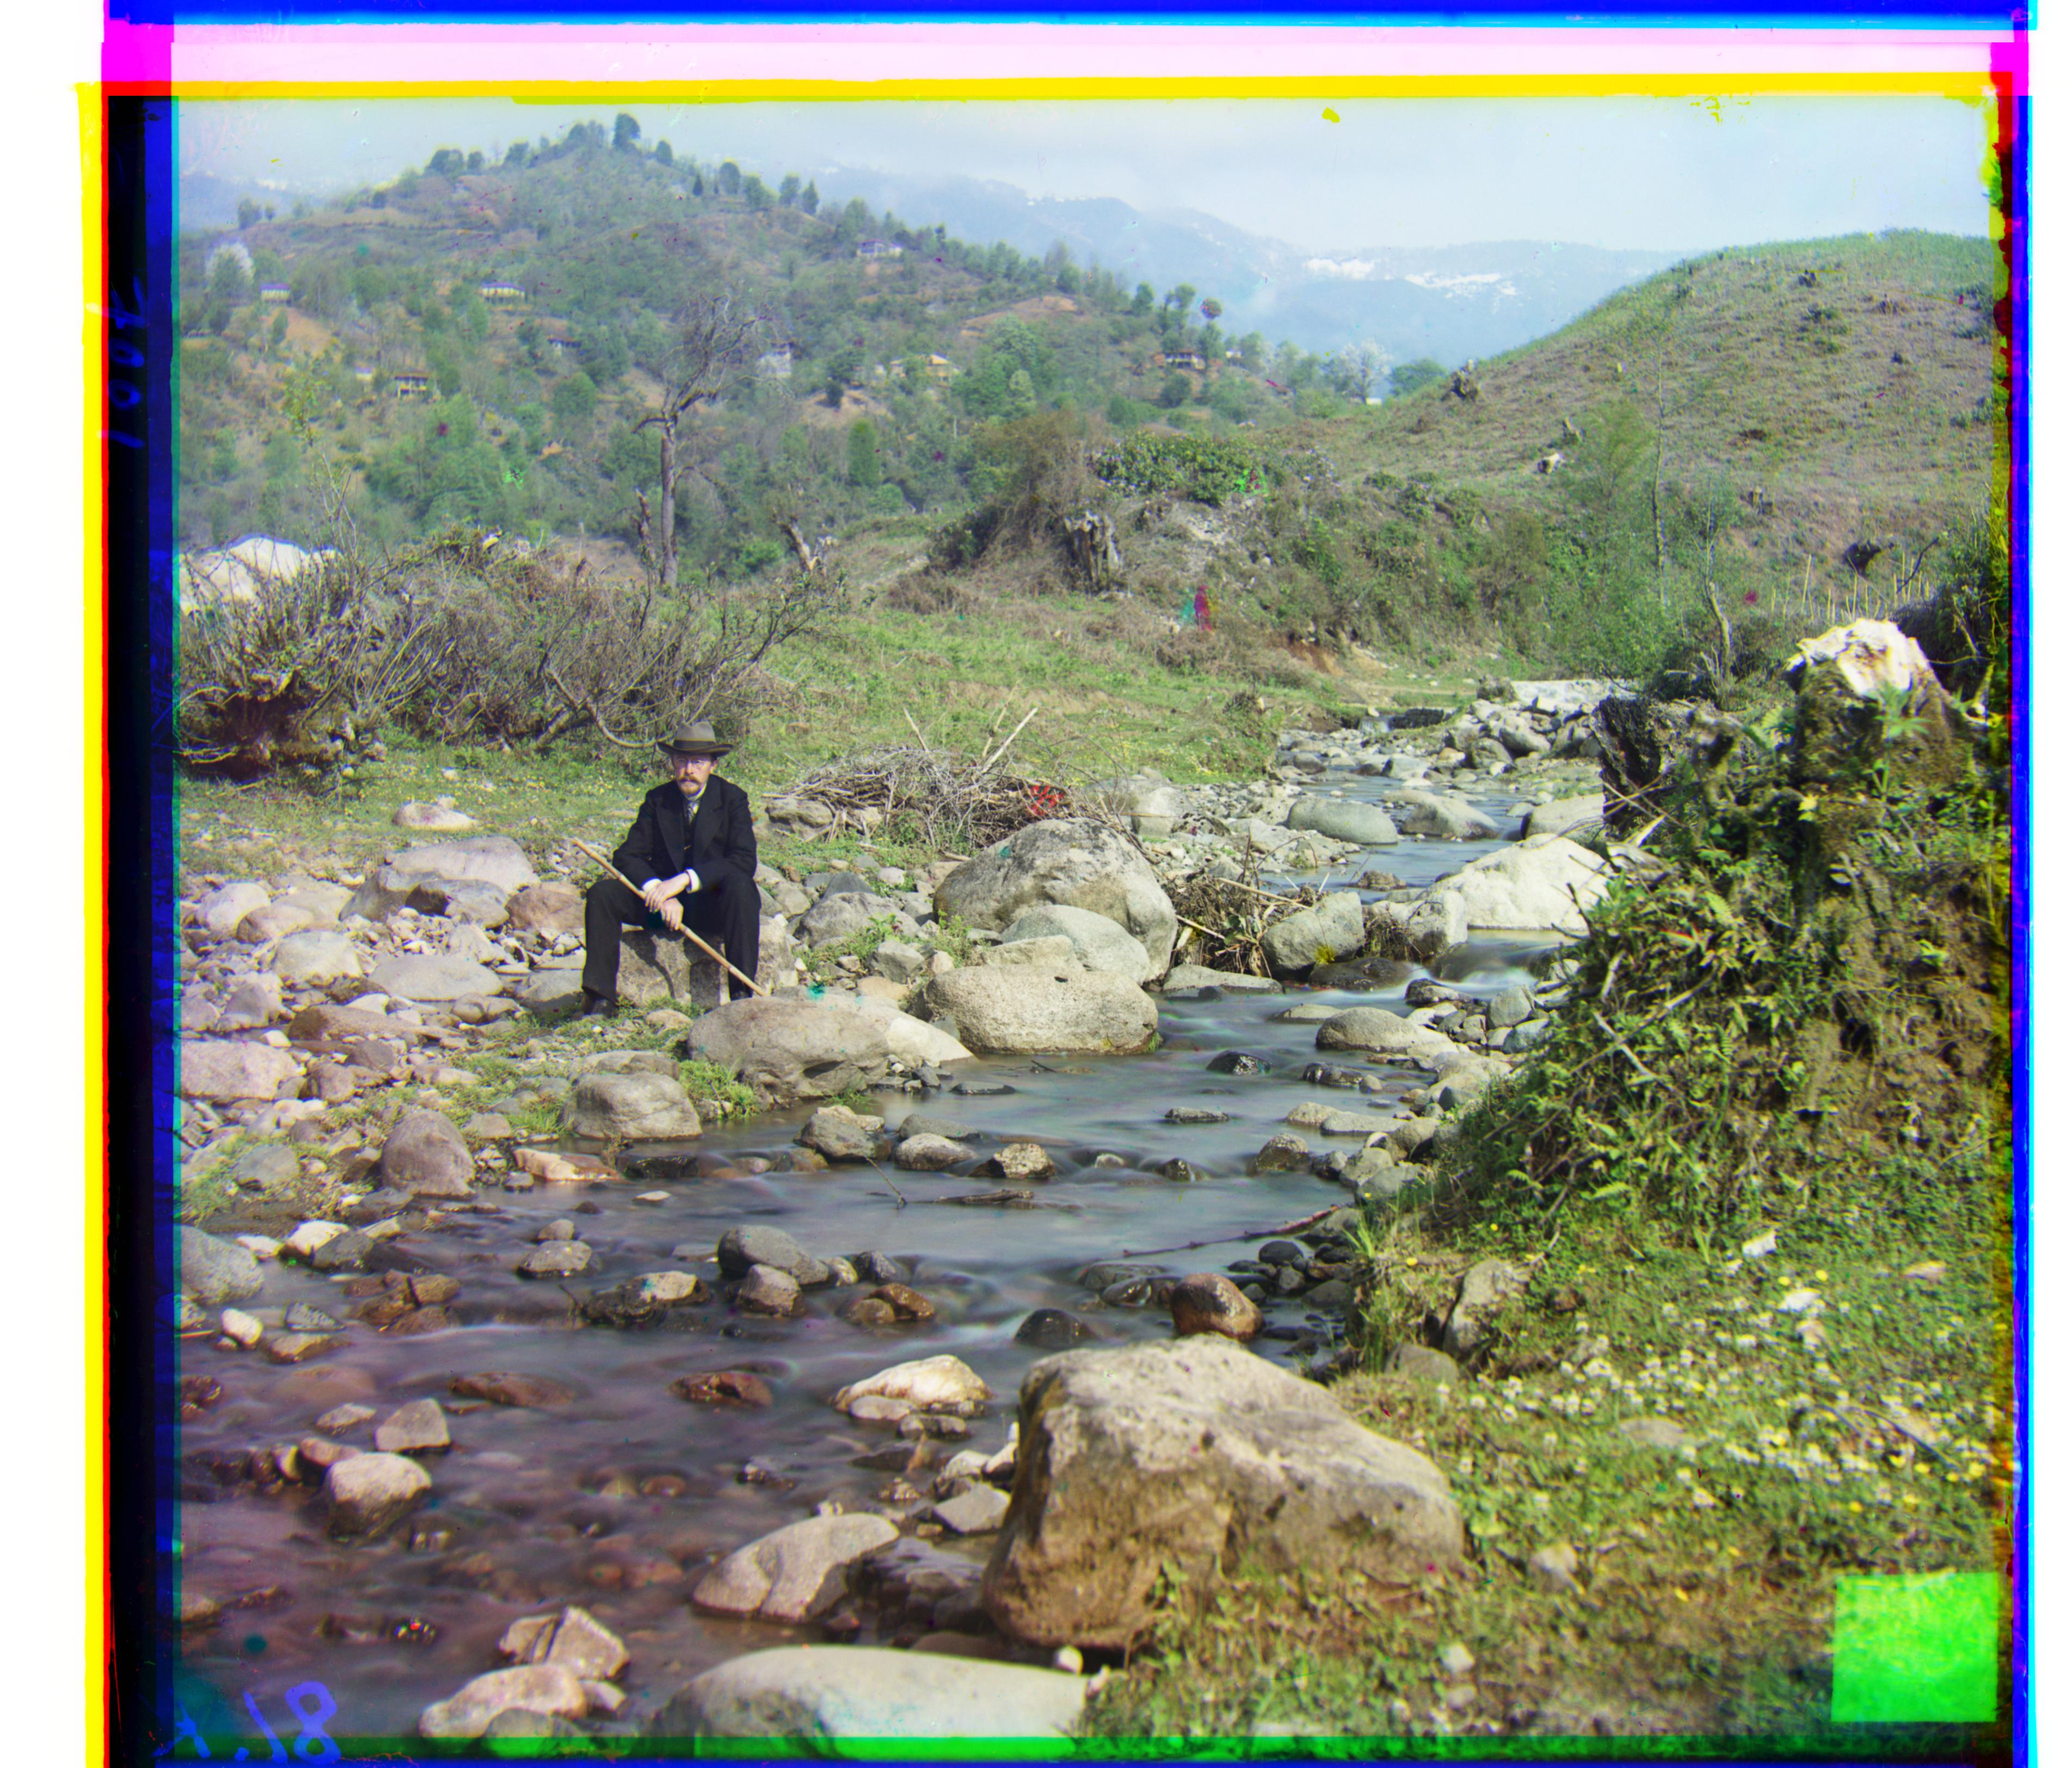
Red Displacement: (14, 124), Green Displacement: (17, 60)
Red Displacement: (37, 176), Green Displacement: (29, 78)
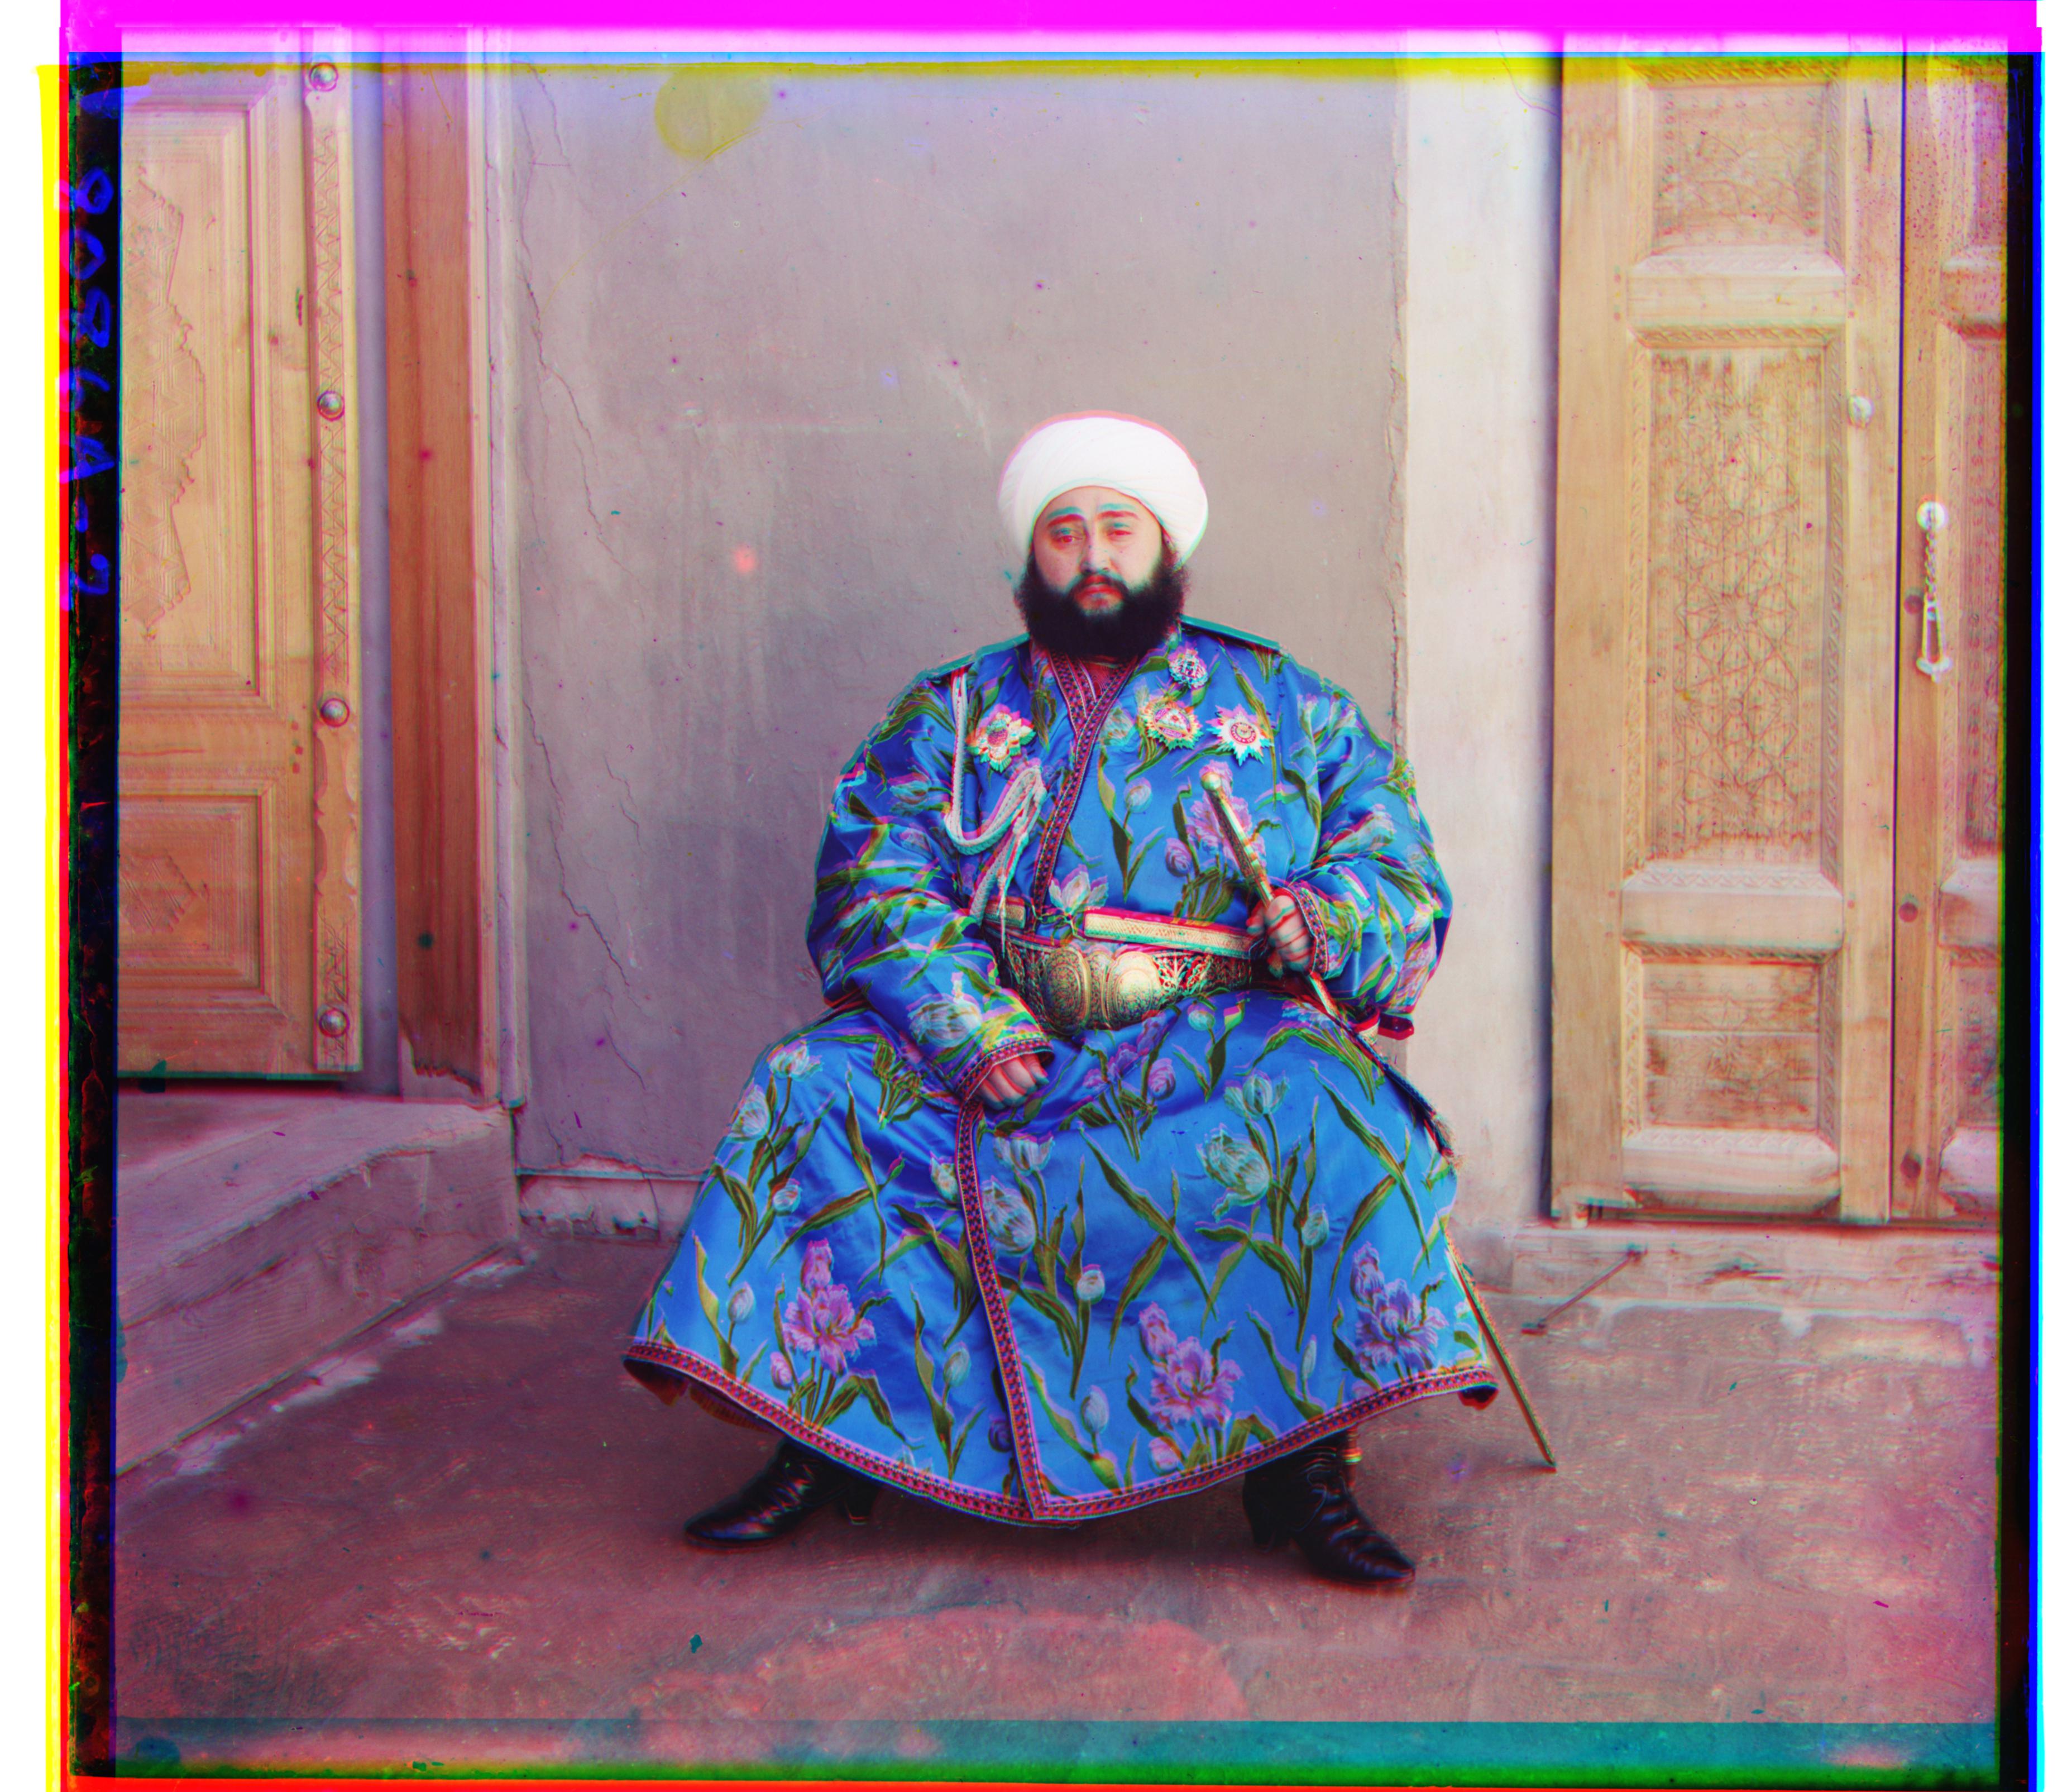
Red Displacement: (39, 93), Green Displacement: (24, 49)
Edge Detection
As seen from the picture of Emir (last picture, man sitting in a chair), some pictures will not align perfectly. In this case, it is likely because the brightness levels are drastically different between each image and the fact that the brightness of the background and Emir's clothes are very similar. A way around this is to avoid using pure pixel brightness values to compare the images. Instead, using the each images's edges to align the images can create much sharper results. To do this, I implemented the Sobel operator or Sobel filter from scratch. This algorithm calculates the approximate gradient magnitude at each point in the image. Normalizing these values allows us to create the edge map of an image as shown below. As a result, aligning Emir was no longer an issue.
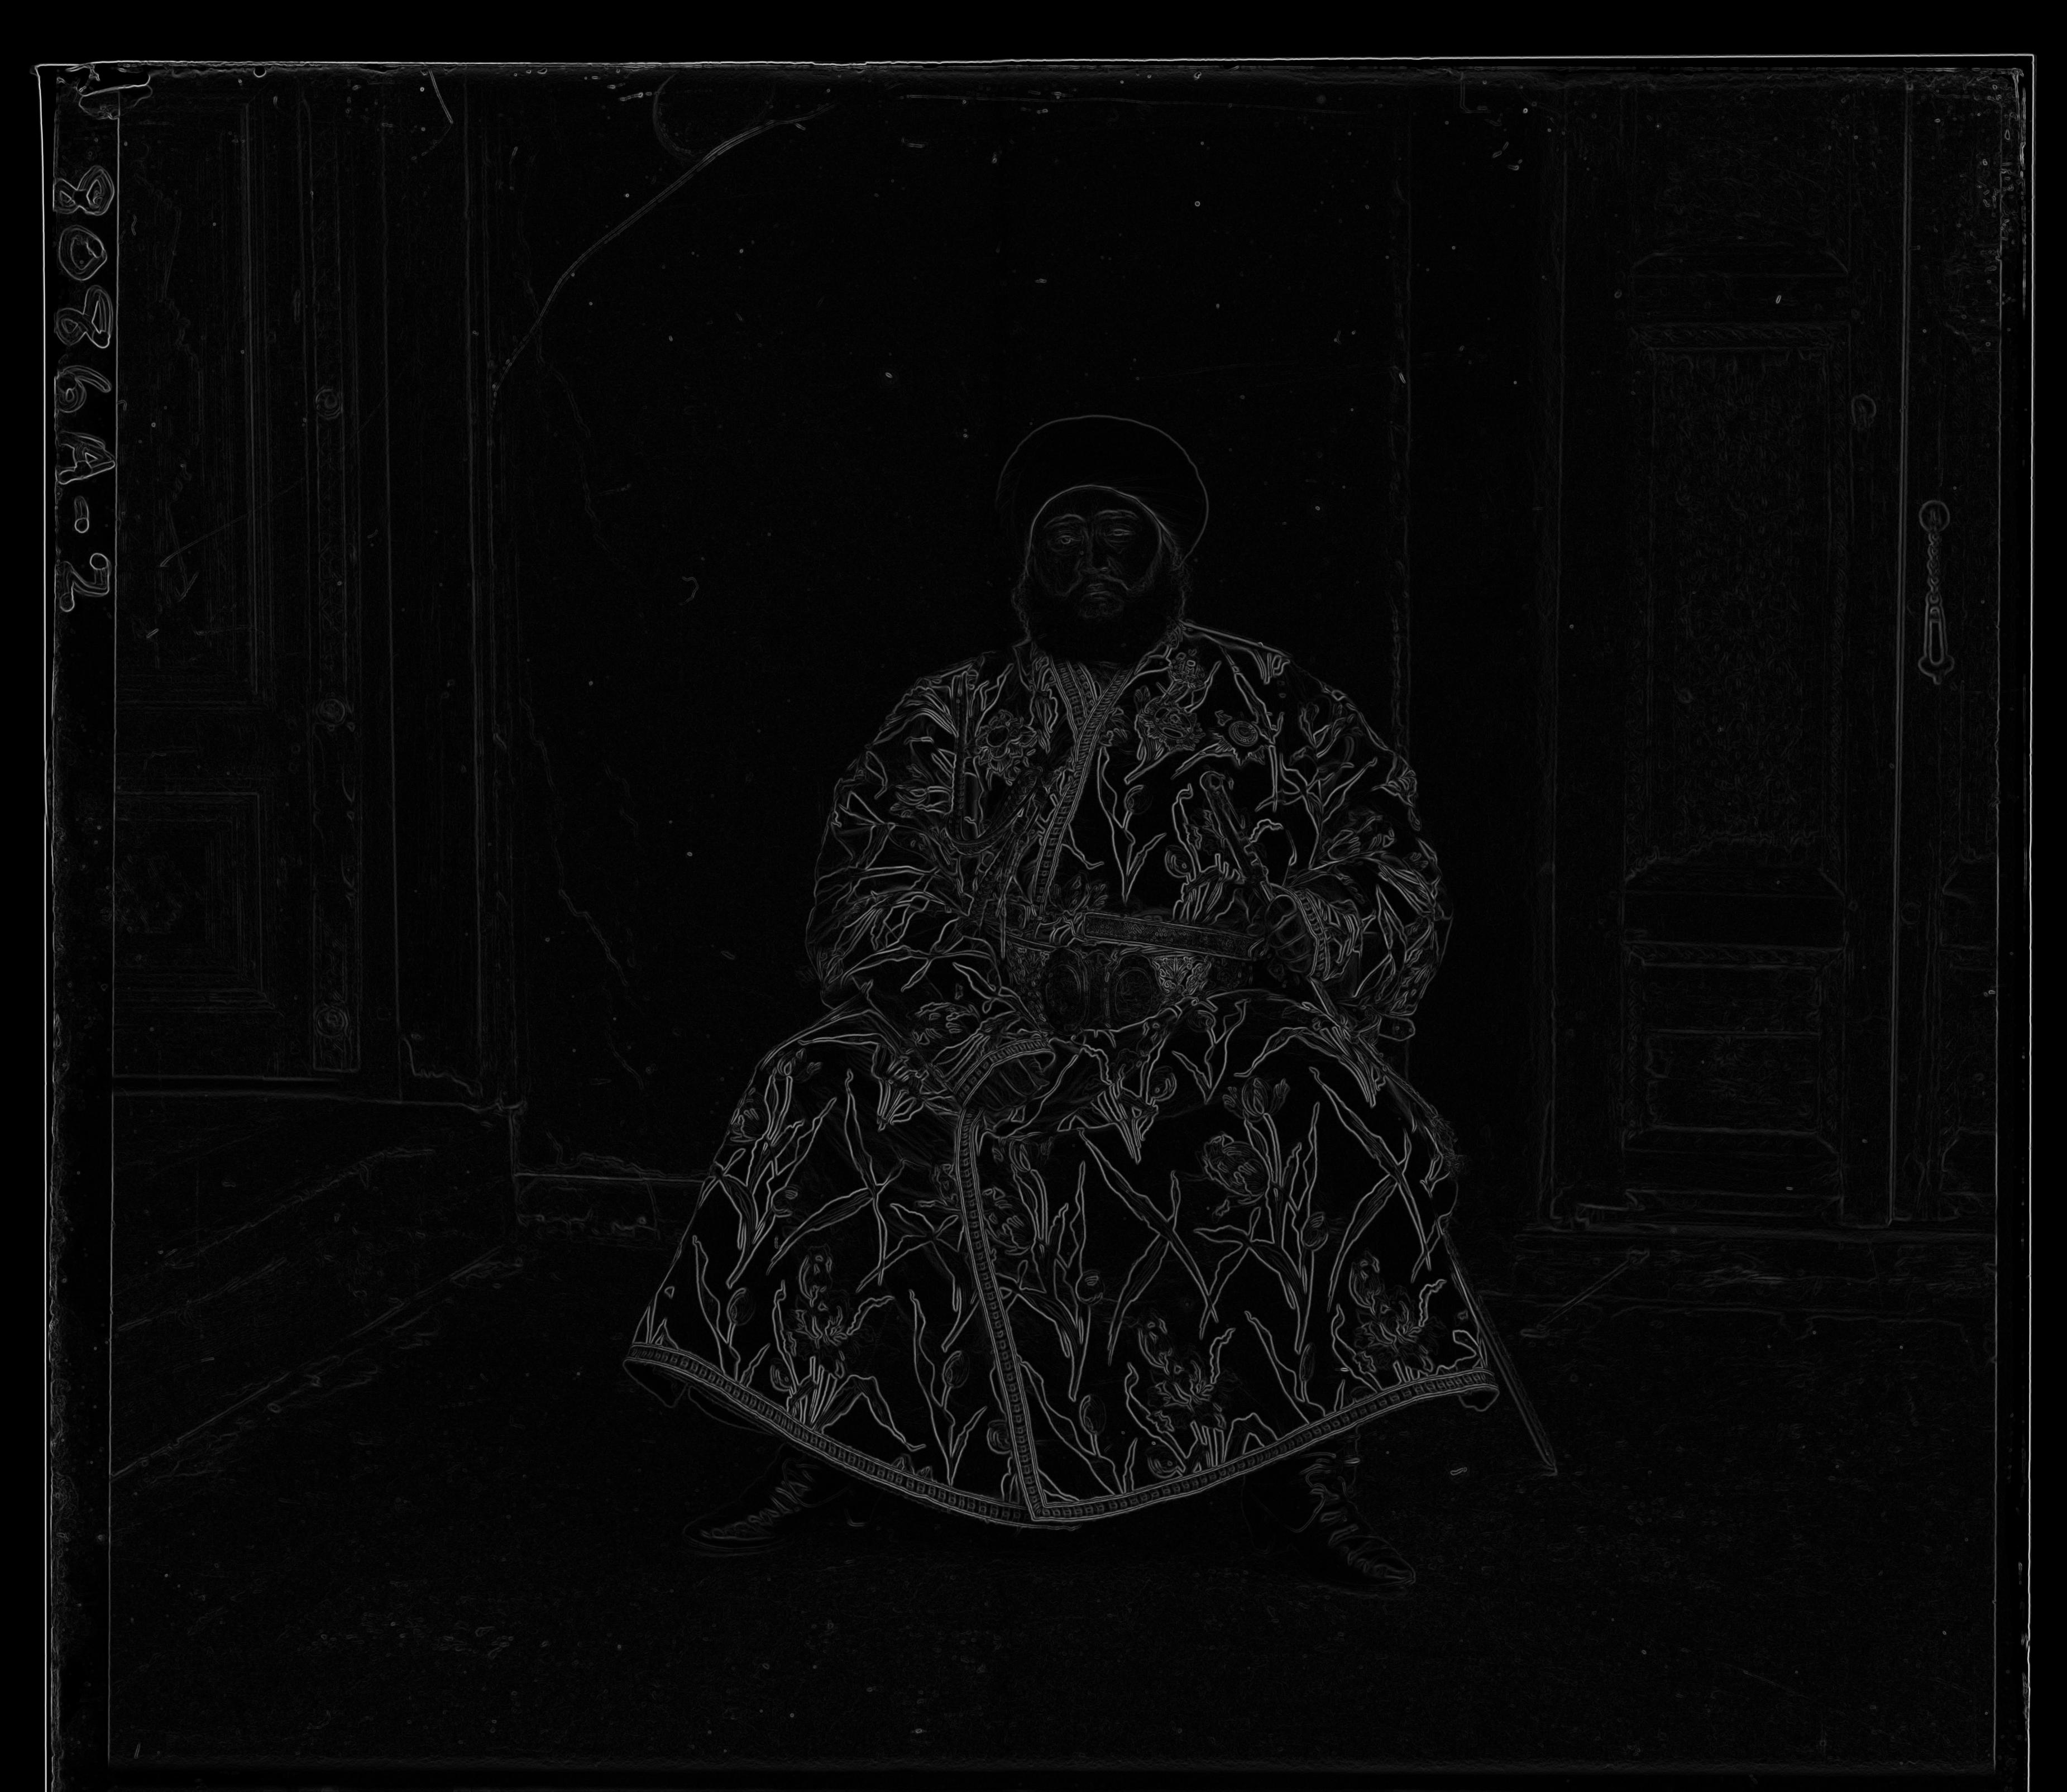

Sobel edge operator applied on emir.tif
Red Displacement: (40, 107), Green Displacement: (24, 49)
Automatic Contrasting
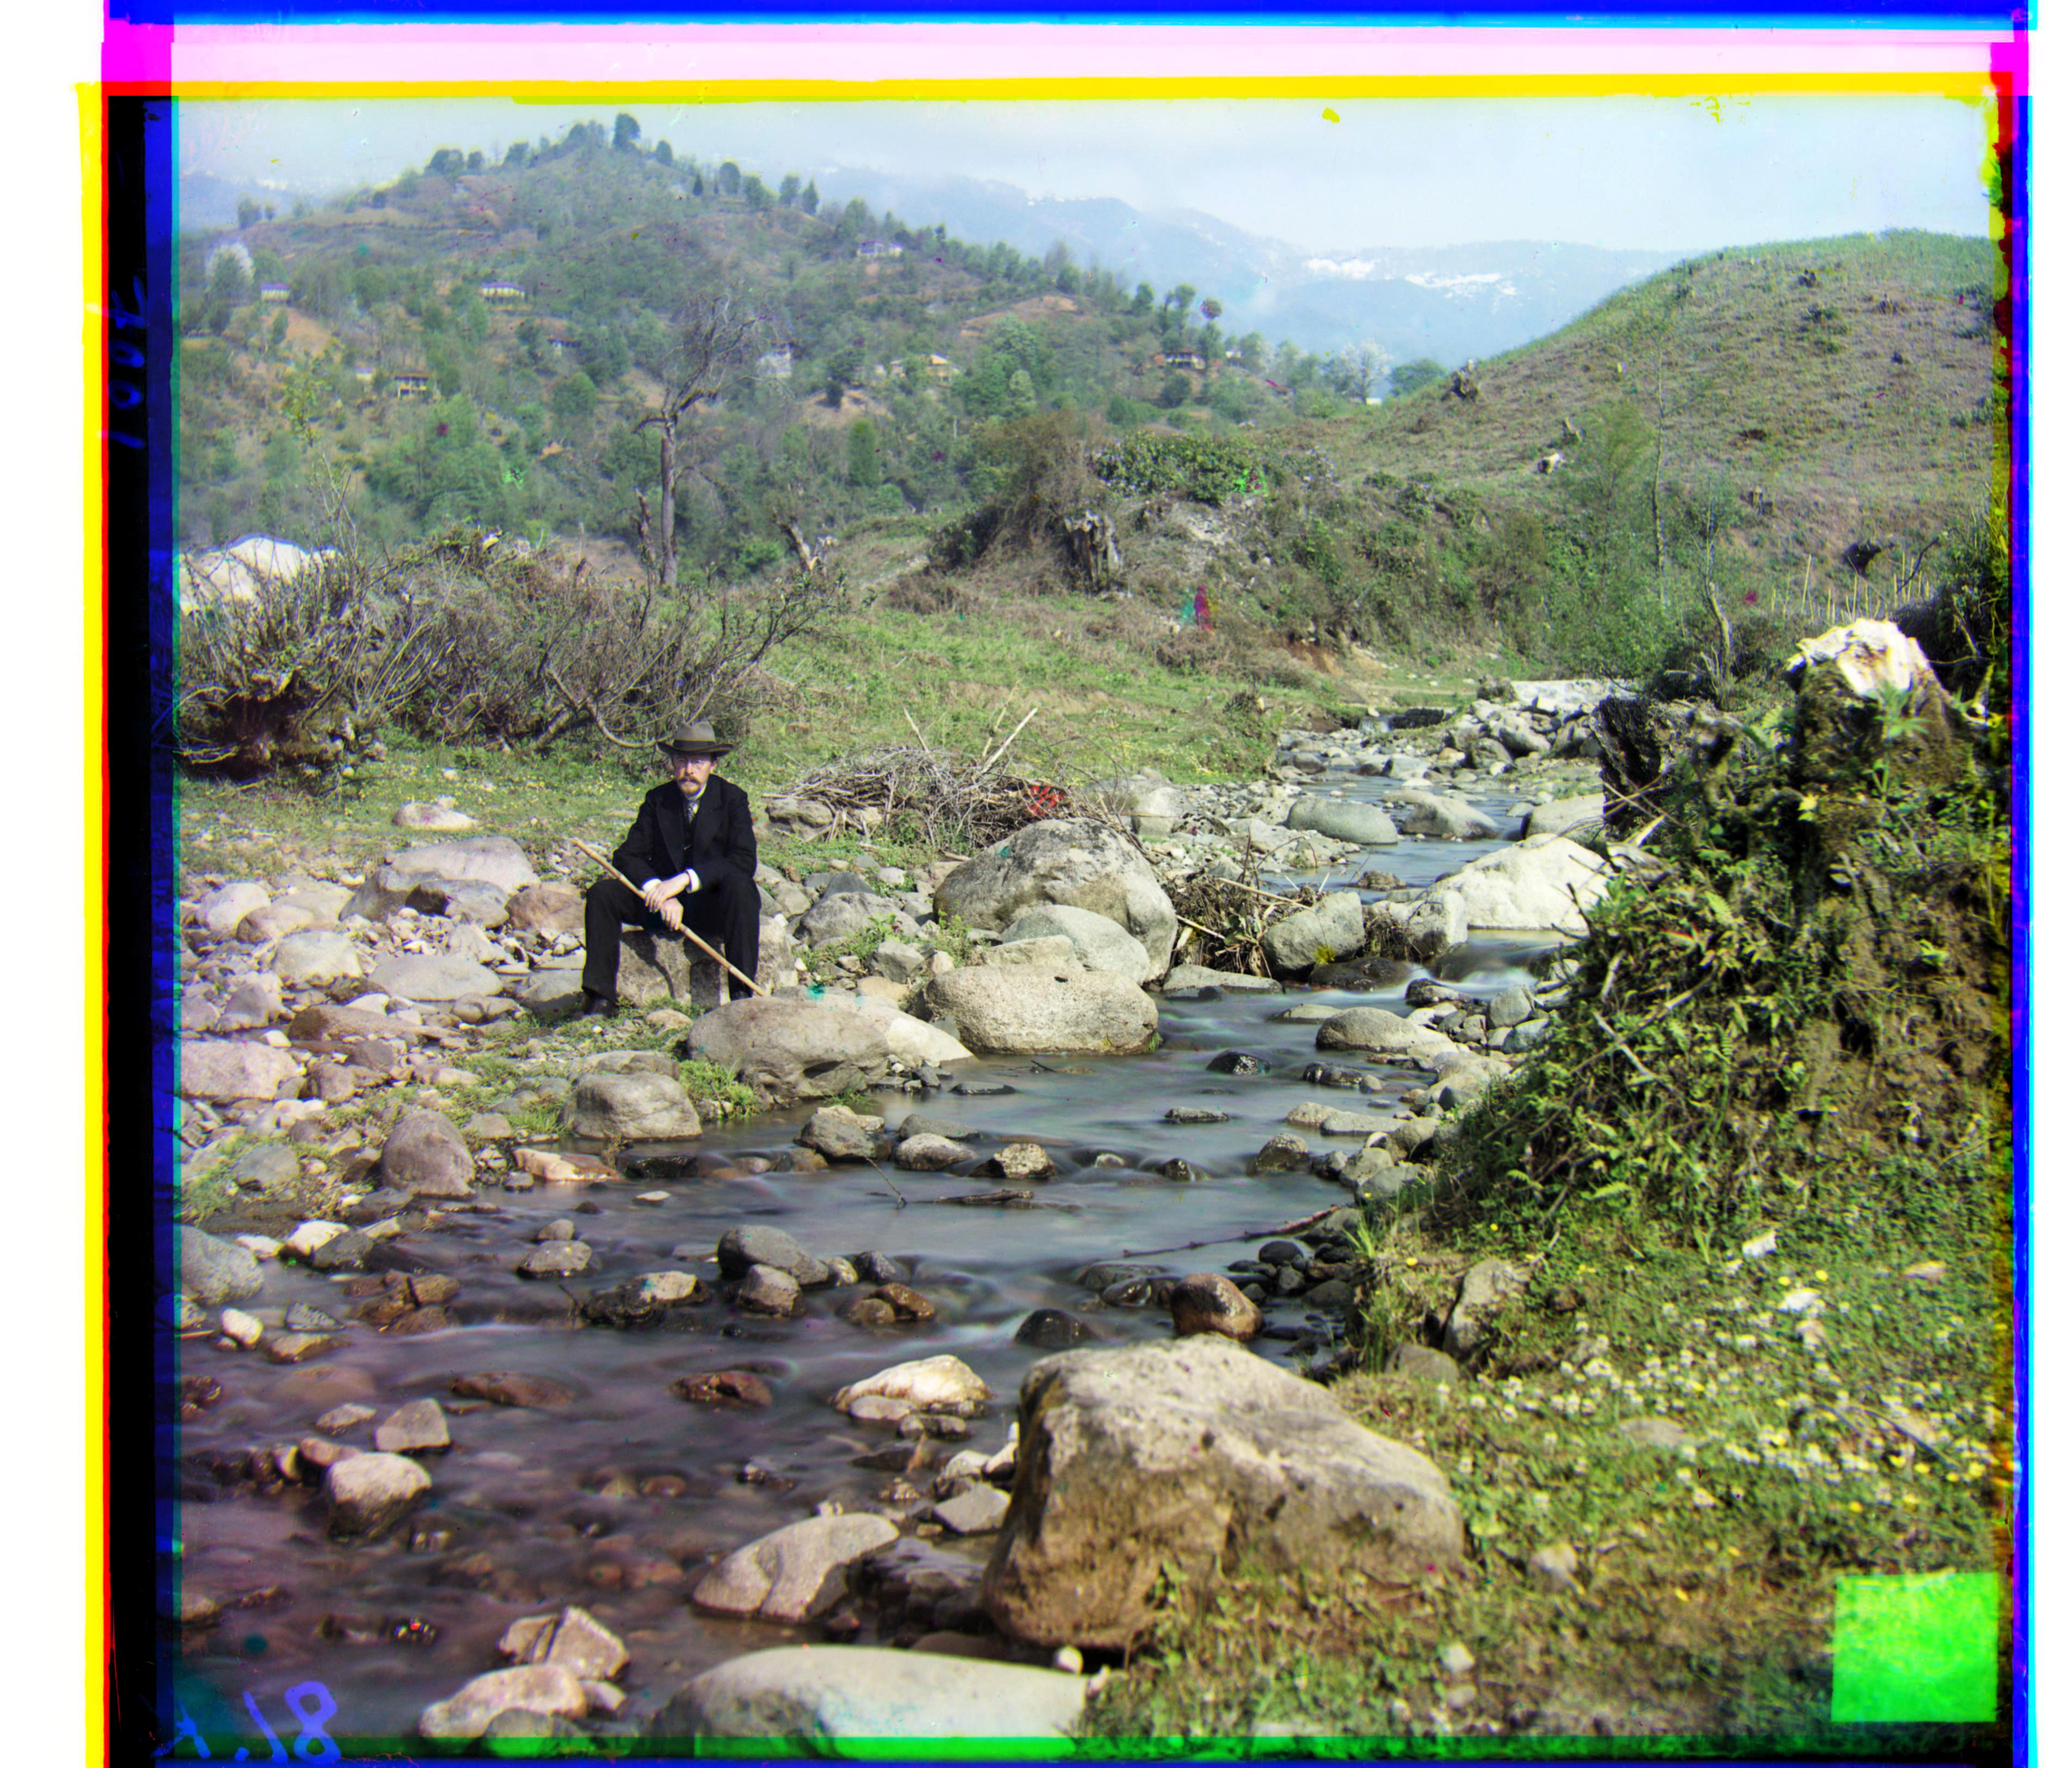
Many of these images appear noticeably washed out and faded, unsuprisingly, considering their age and less advanced technology. One way to get around this is to increase the contrast. I implemented a fairly simple automatic contrasting algorithm as a result. This algorithm first started by converting the colorized rgb image to hsv and taking the luminosity channel. Then, some top and bottom percentage (I chose a threshold of 0.05%) of luminosity values would be mapped to the brightest and darkest possible, respectively. All other points would be rescaled accordingly. Finally, the image would be converted back to rbg and saved. The results are depicted below.
Note: Because the low threshold, it may be hard to see the auto-contrasting effect. Opening the images in new tabs and swapping between them makes the differences apparent.
Contrast Off
Contrast On

Automatic White Balancing
Many of the provided images have a reddish or blueish tint that lessens the quality and realism of the photo. In order to elimiate this issue, we can use white balancing. White balancing or color balancing is a method of adjusting the intensities of colors to eliminate unrealistic color casts. In a white balanced, photo, a white object would ideally look white.
There are plenty of methods out there to implement automatic white balancing. I went with a very similar approach to what I used for automatic contrasting. Essentially, the same approach of remapping the maximum and minimum intensities and rescaling the intermediate intensities was used. However, this time, the procedure was applied to each color channel (red, green, blue) instead of just the luminosity channel. As before a threshold of 0.05% was used. This algorithm also happens to be the method that GIMP, a popular free and open-source image editor, employs. Despite its simplicity, the algorithm works very well as seen in the images below.
White Balance Off
White Balance On



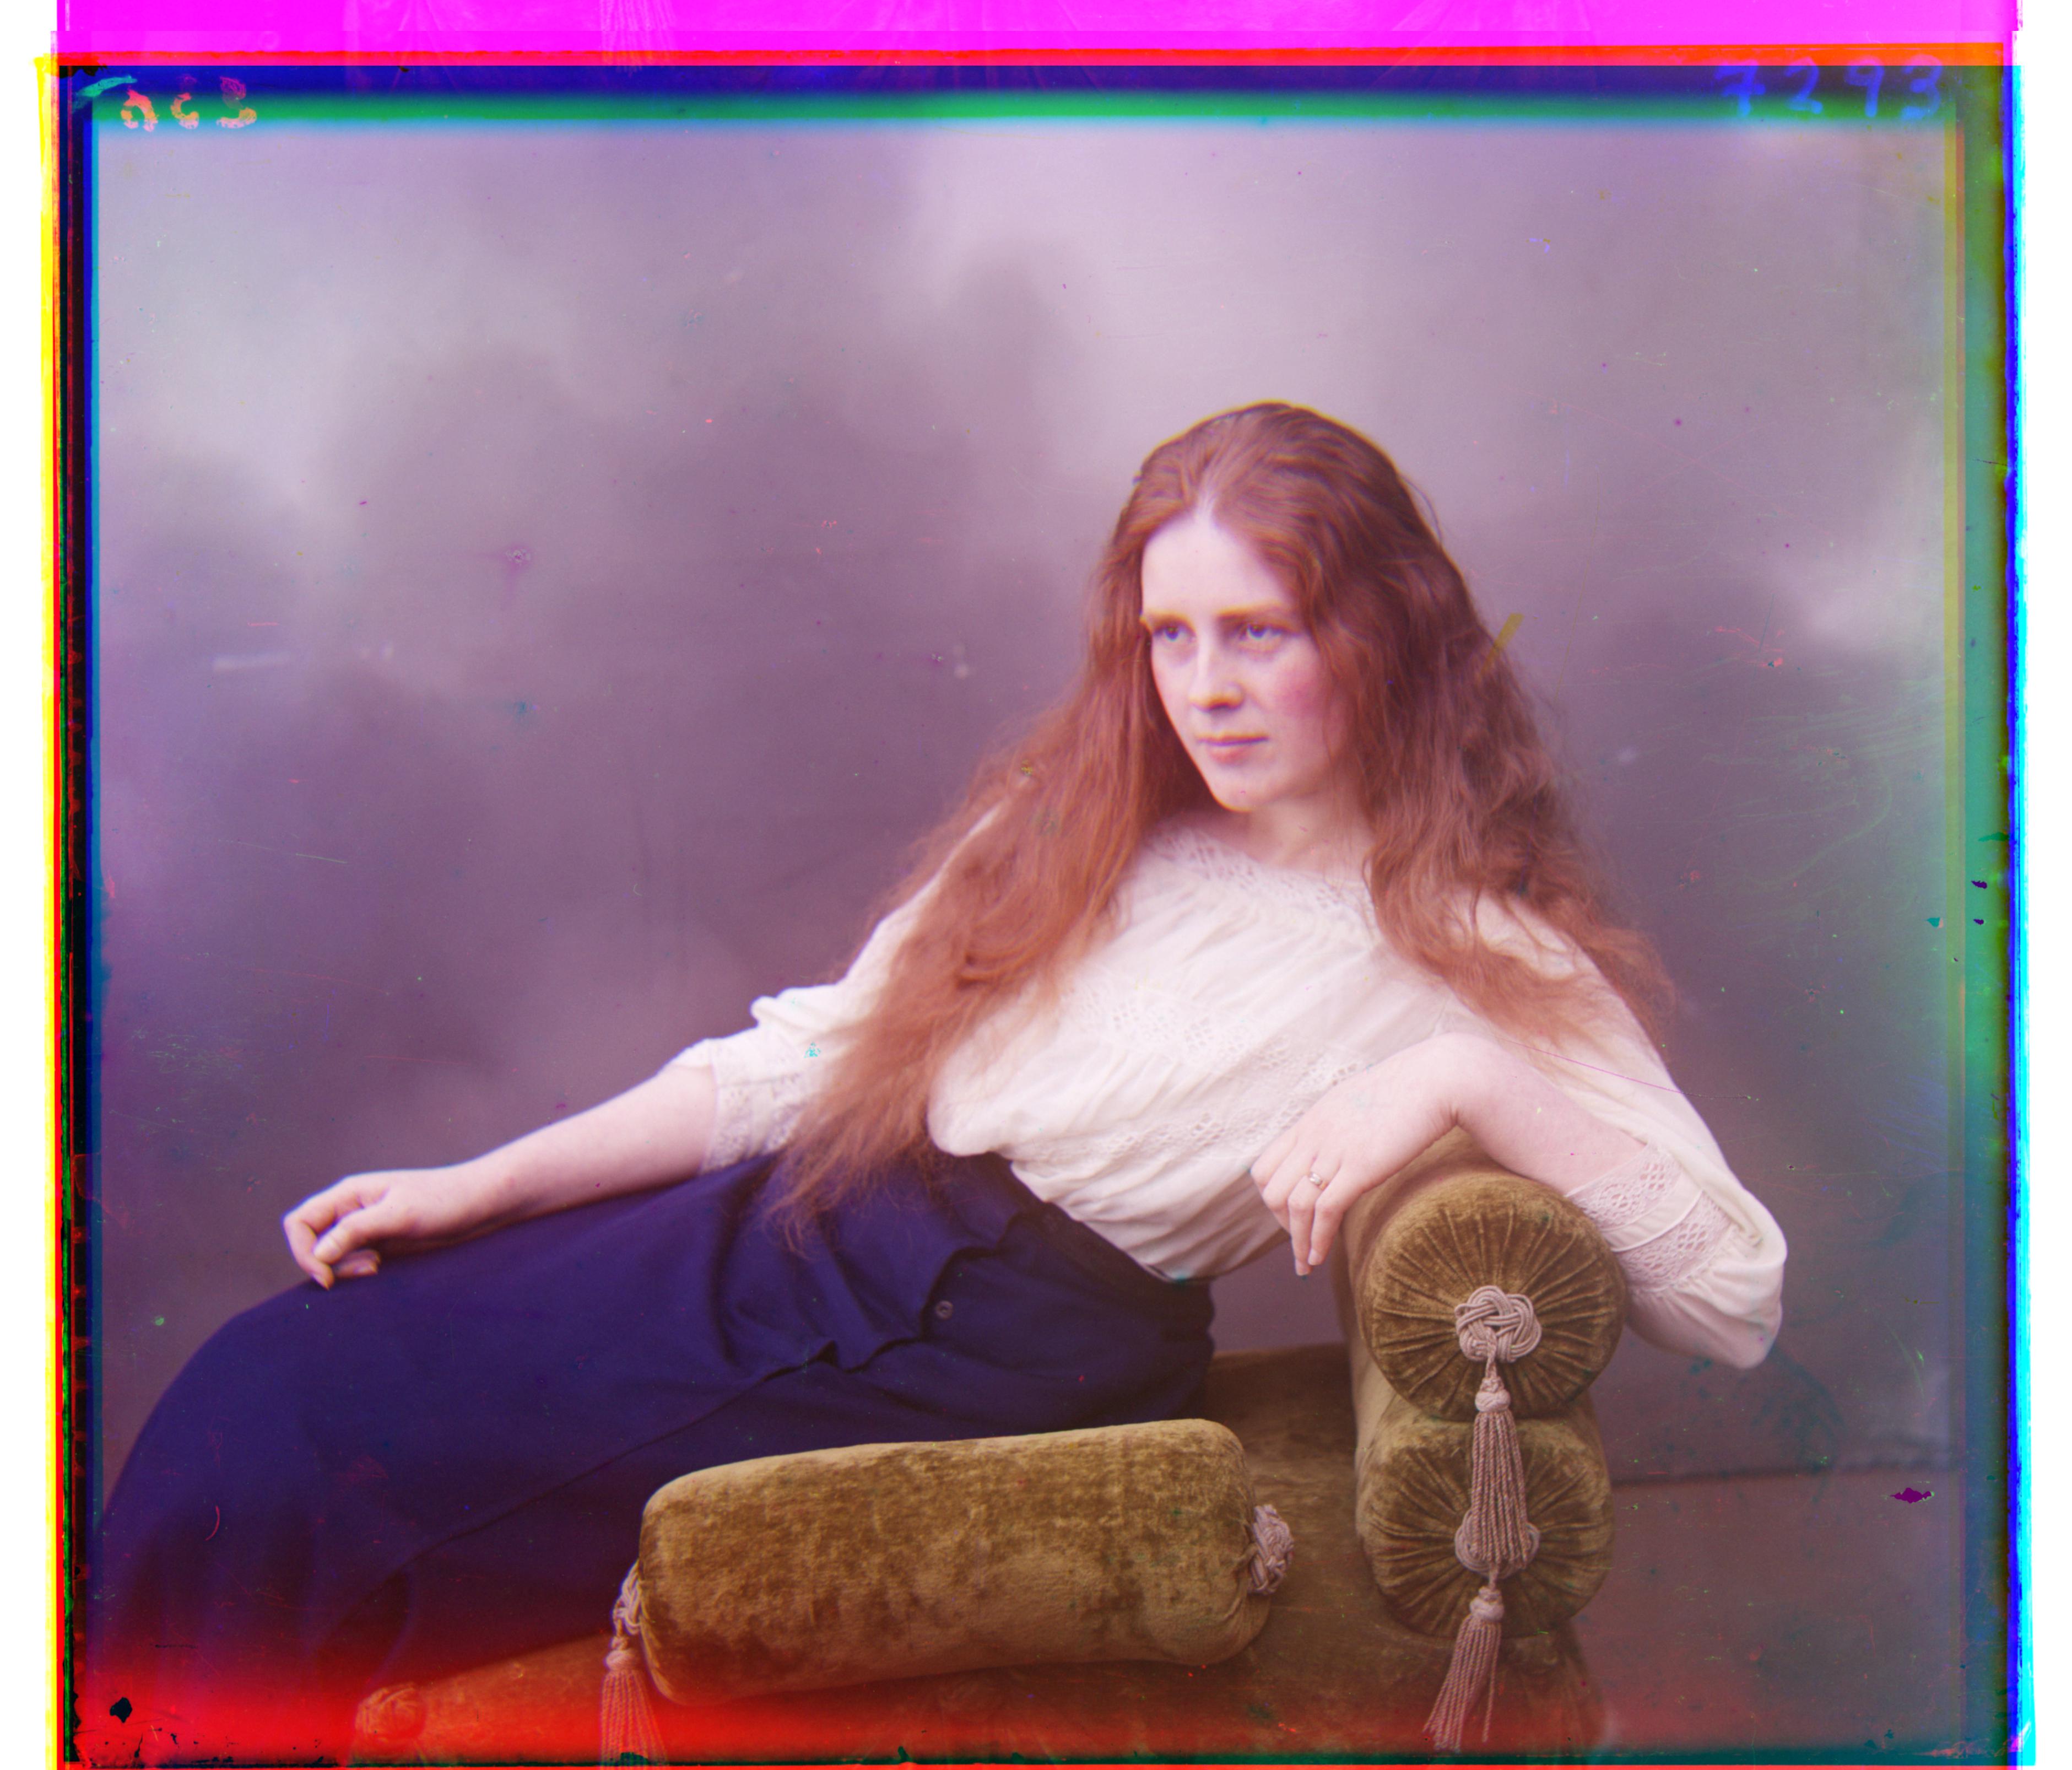
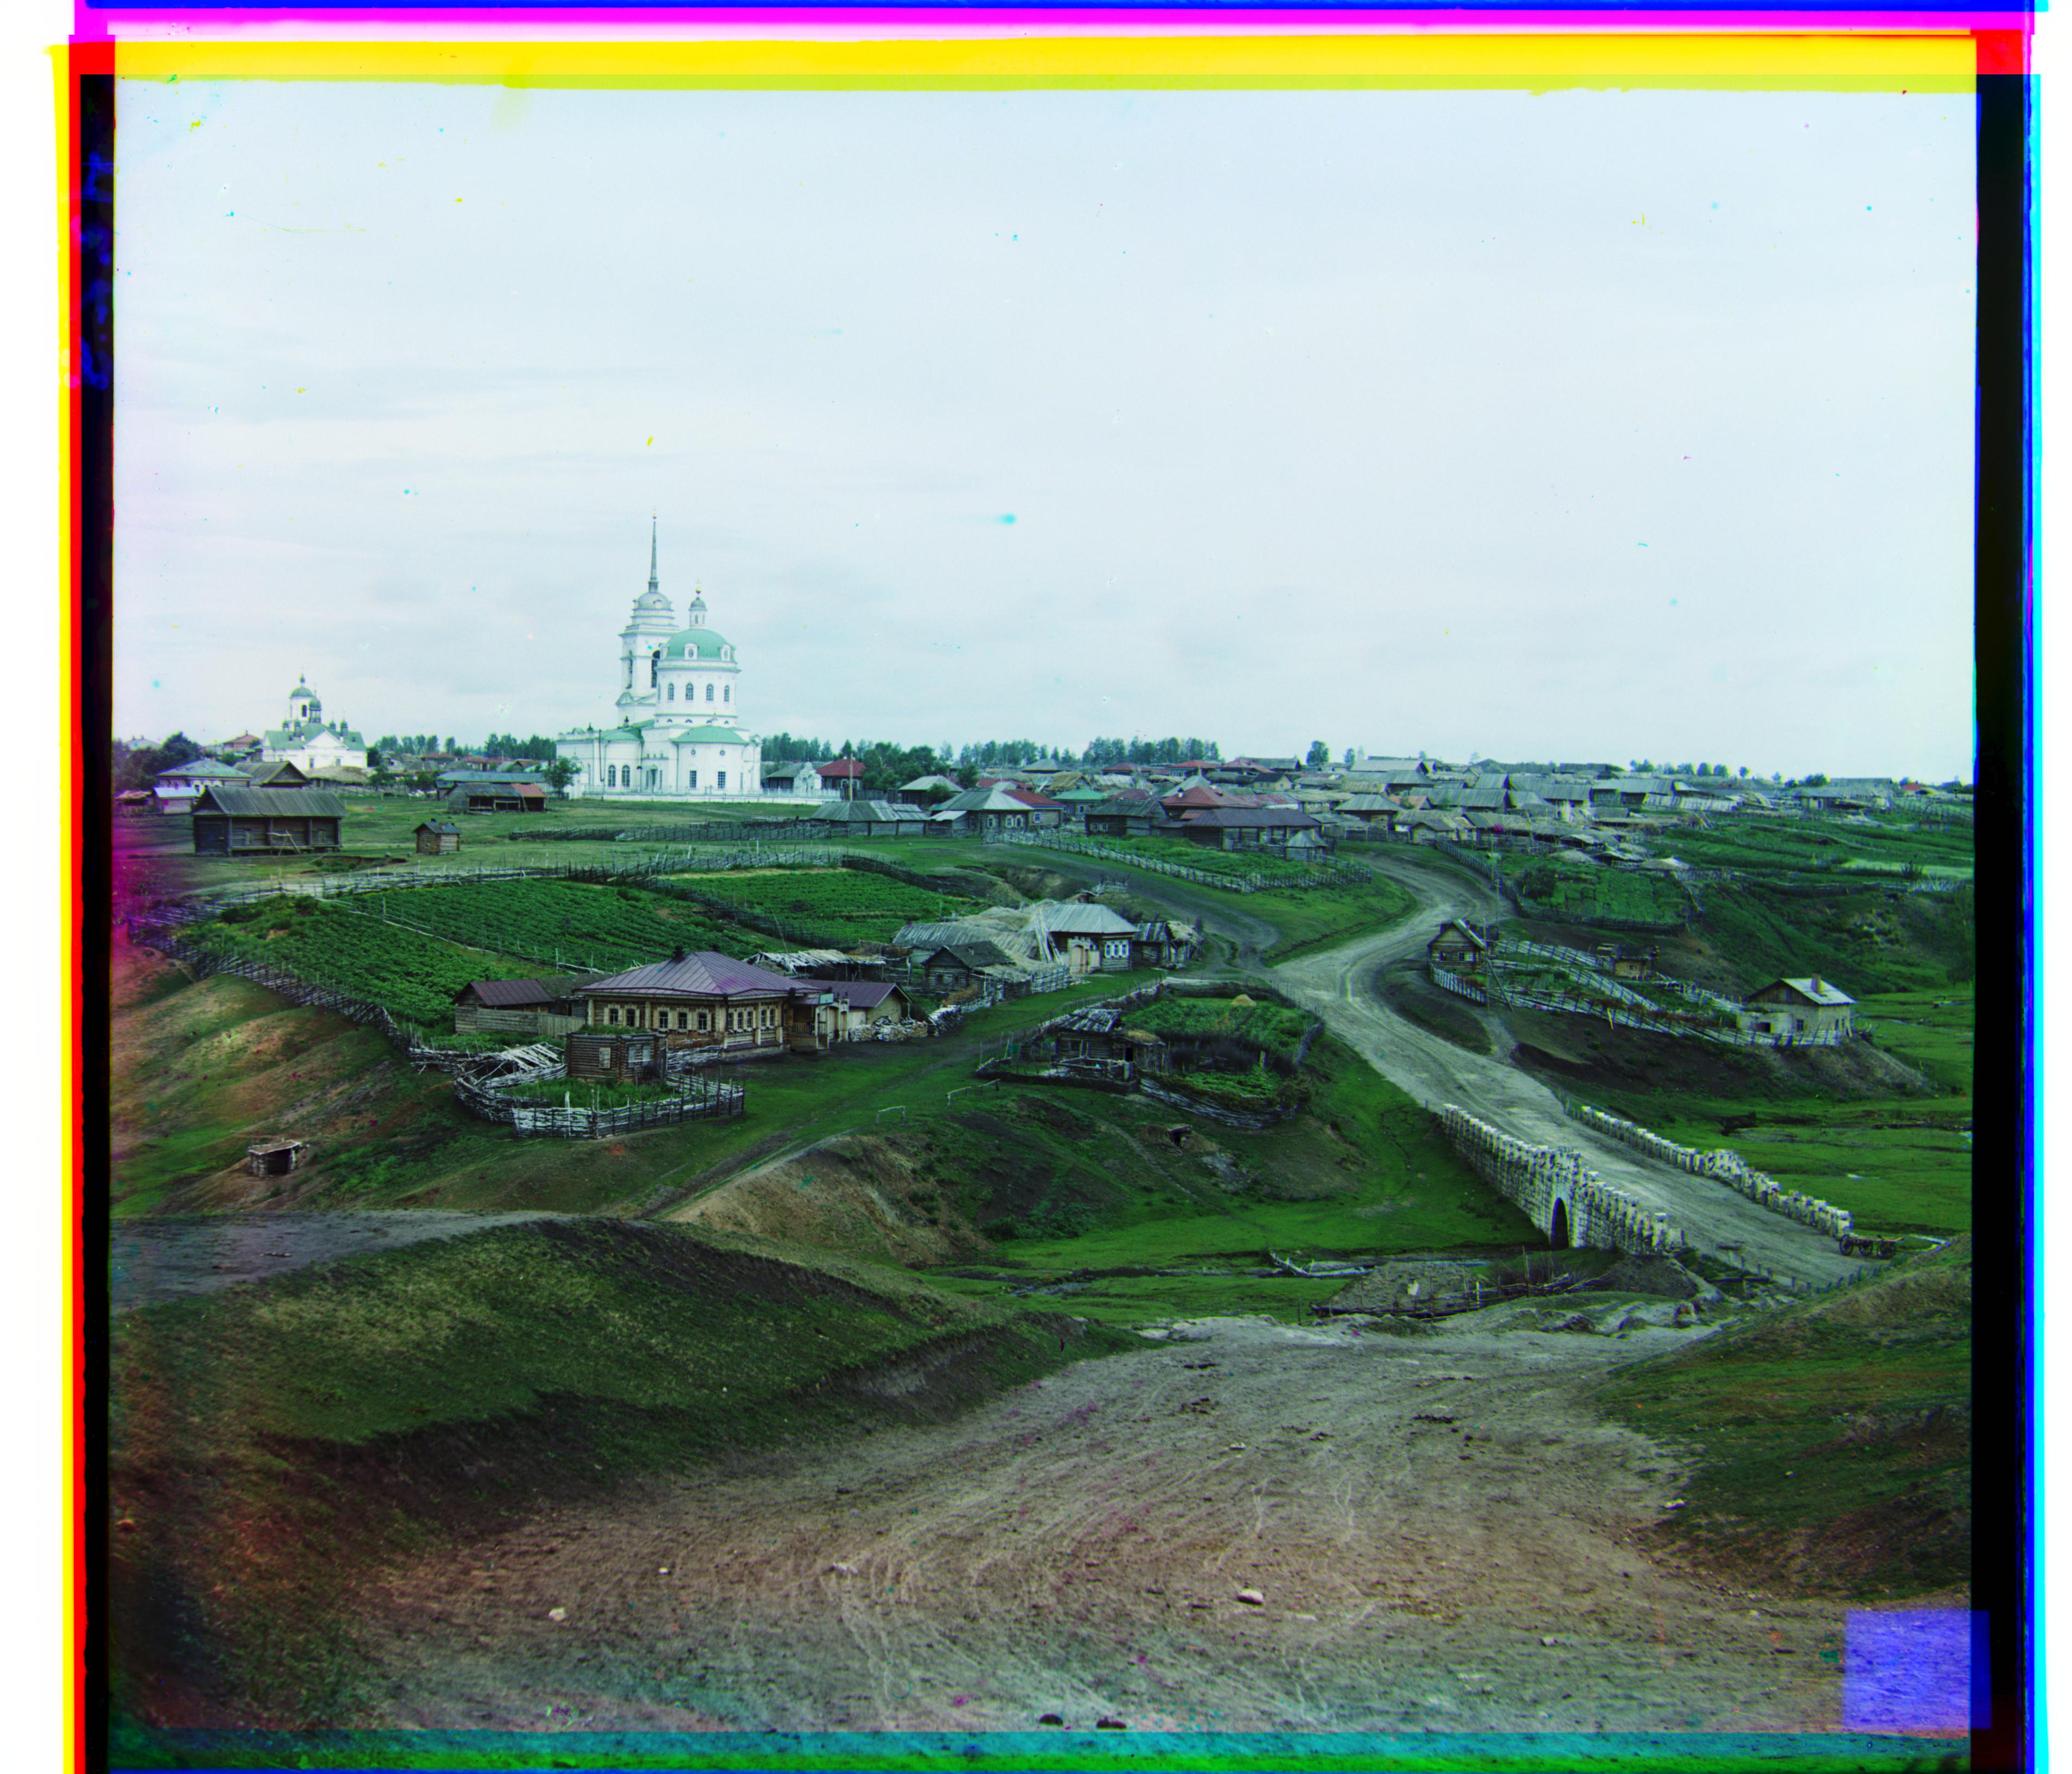
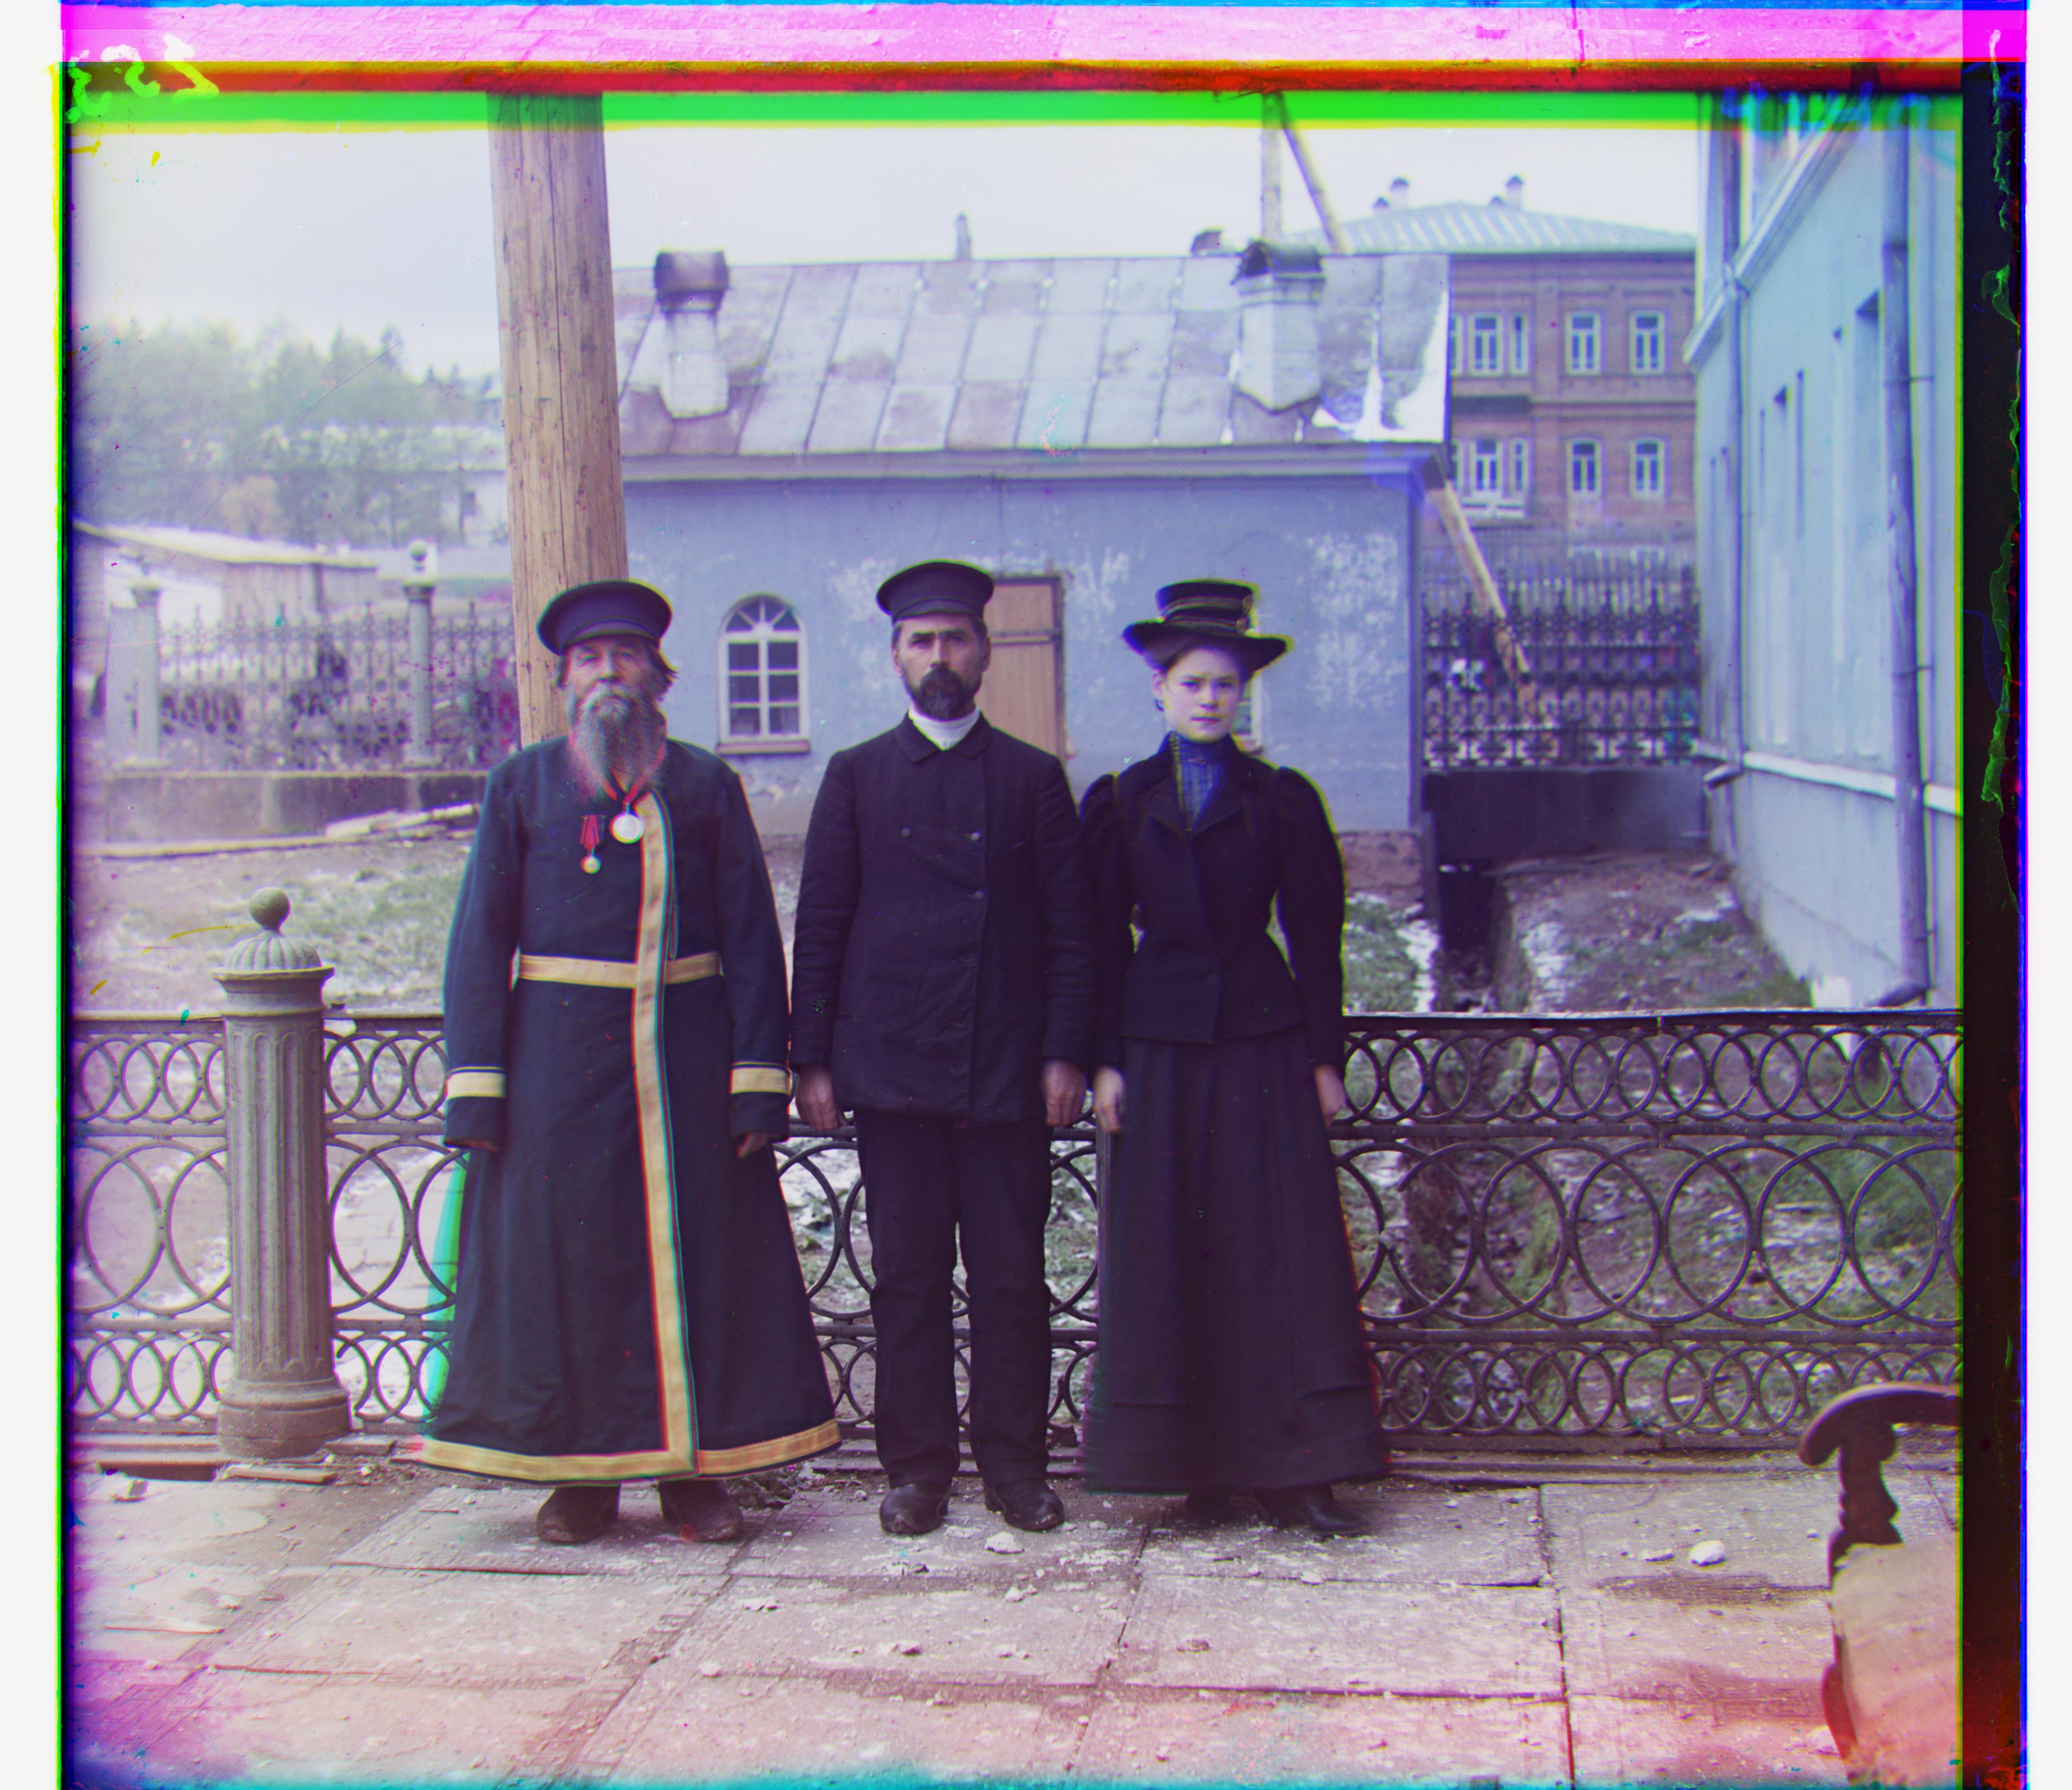
Other Images
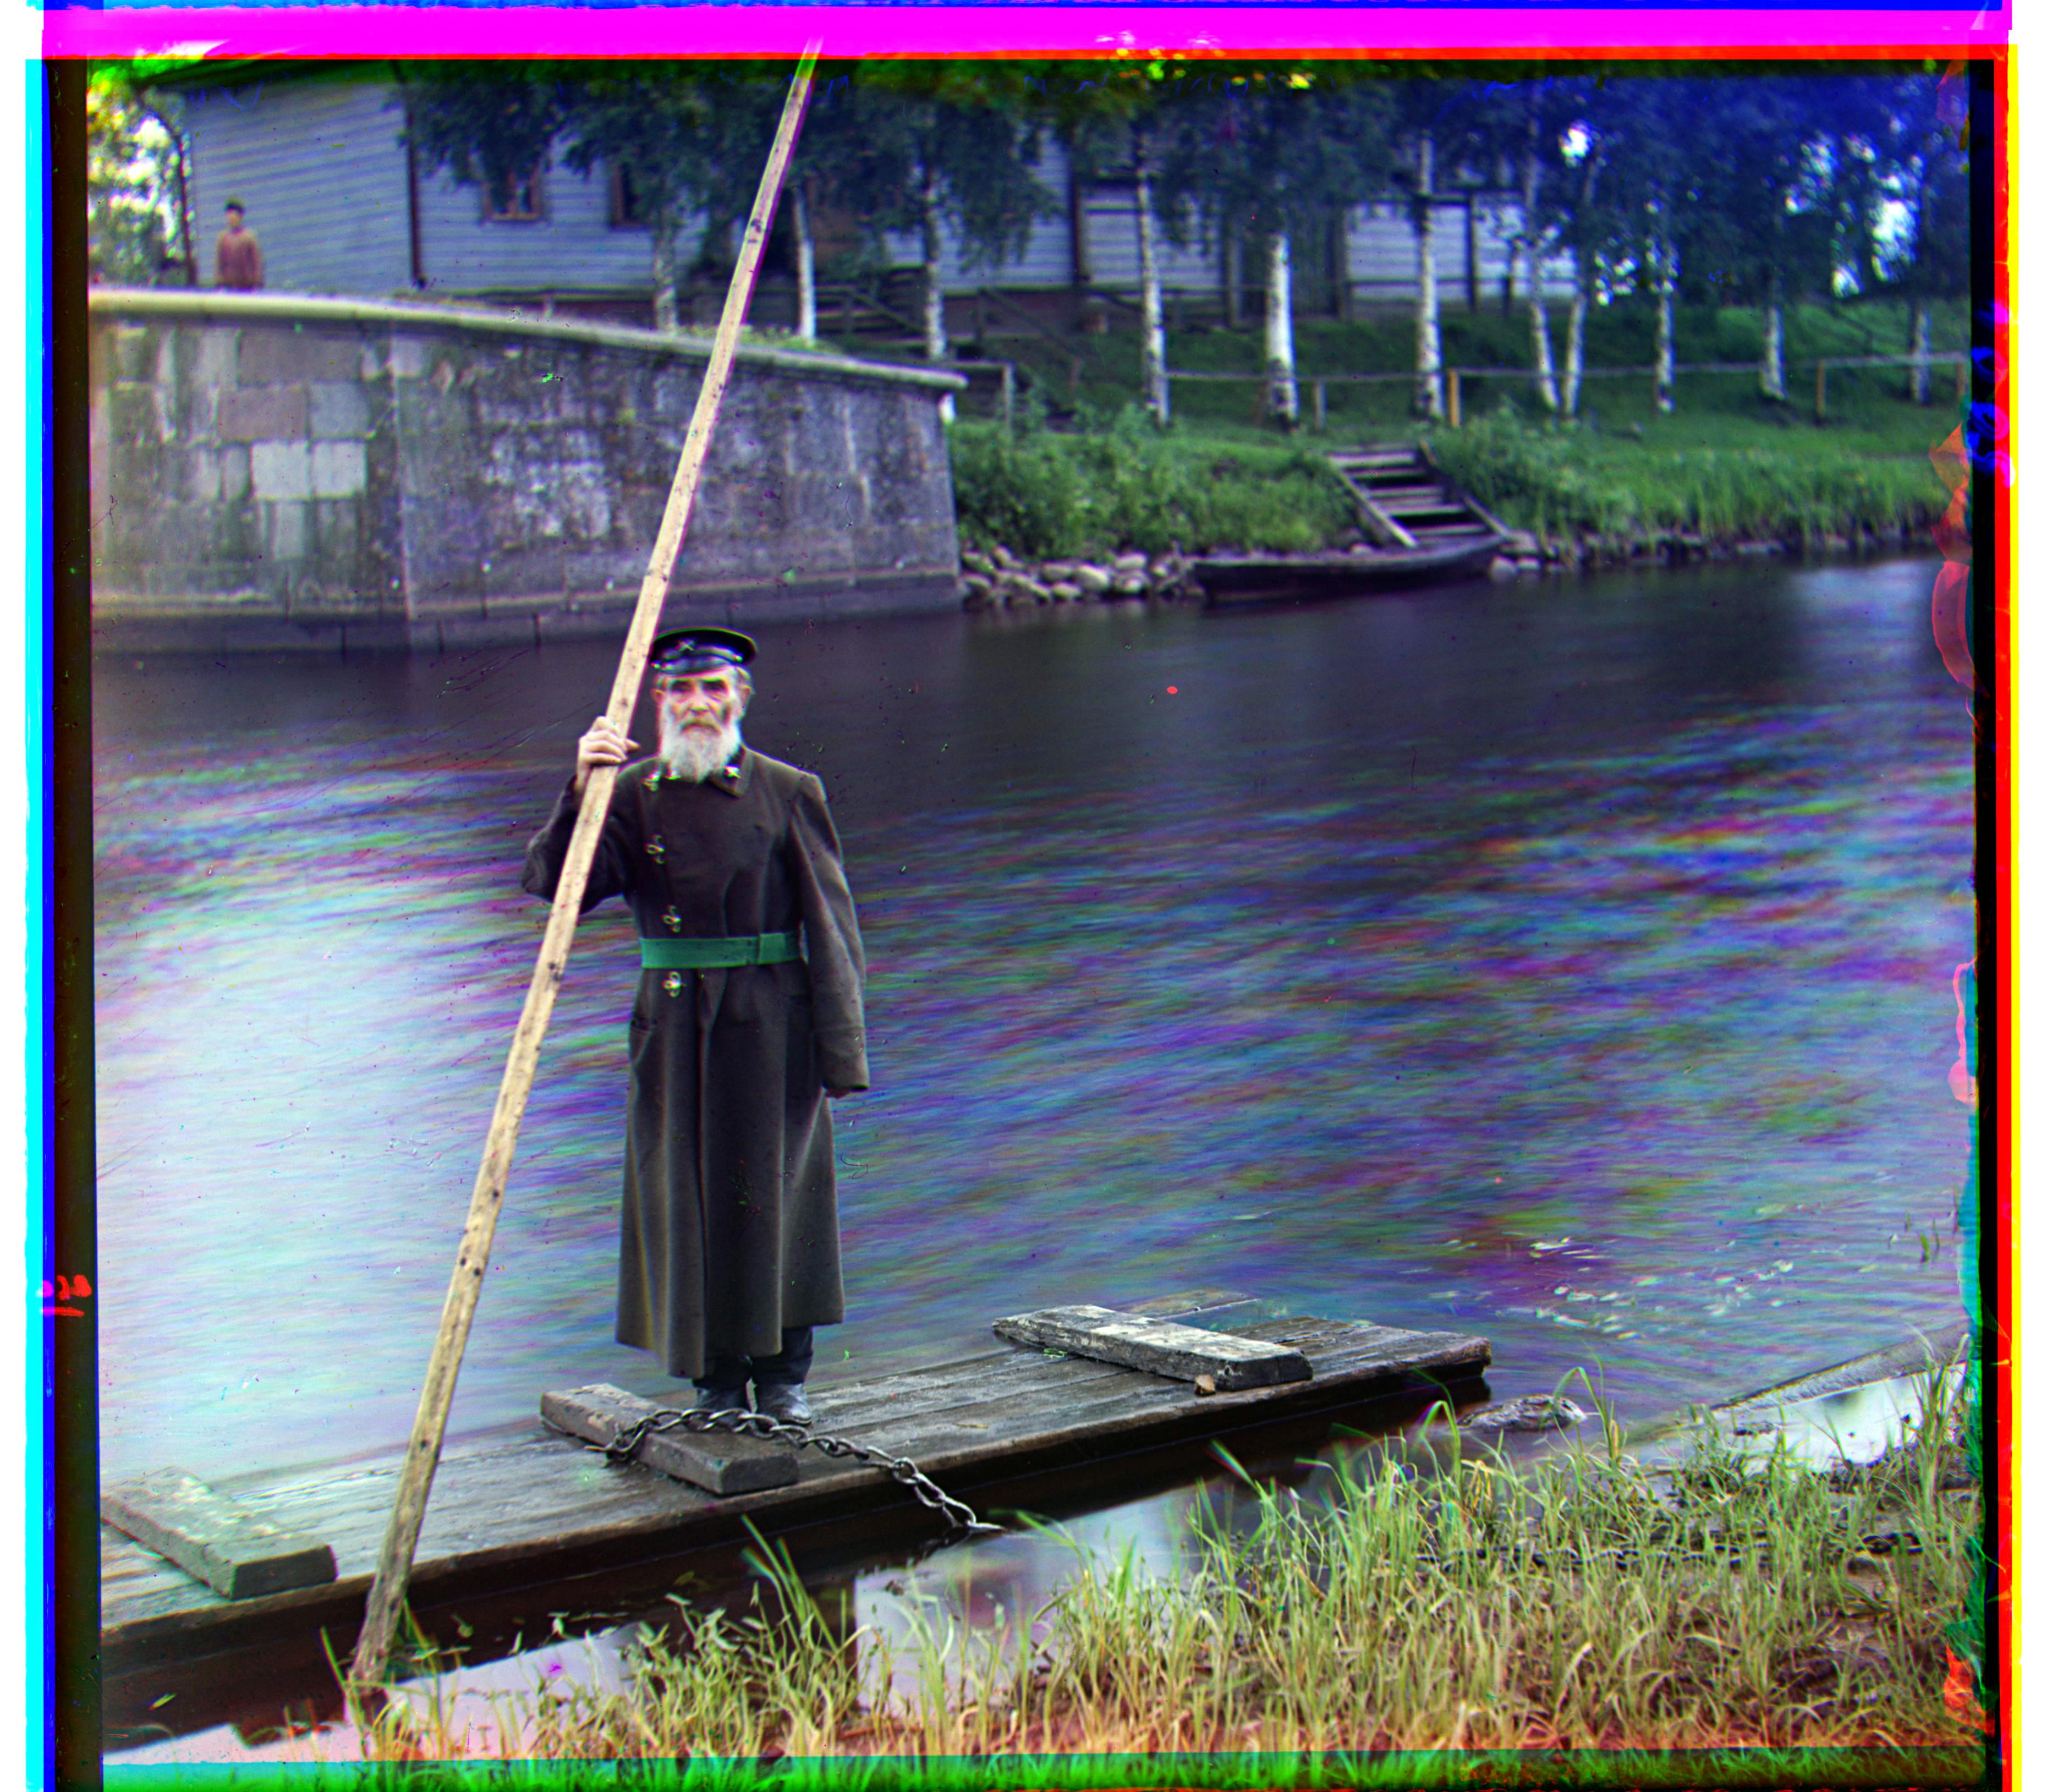
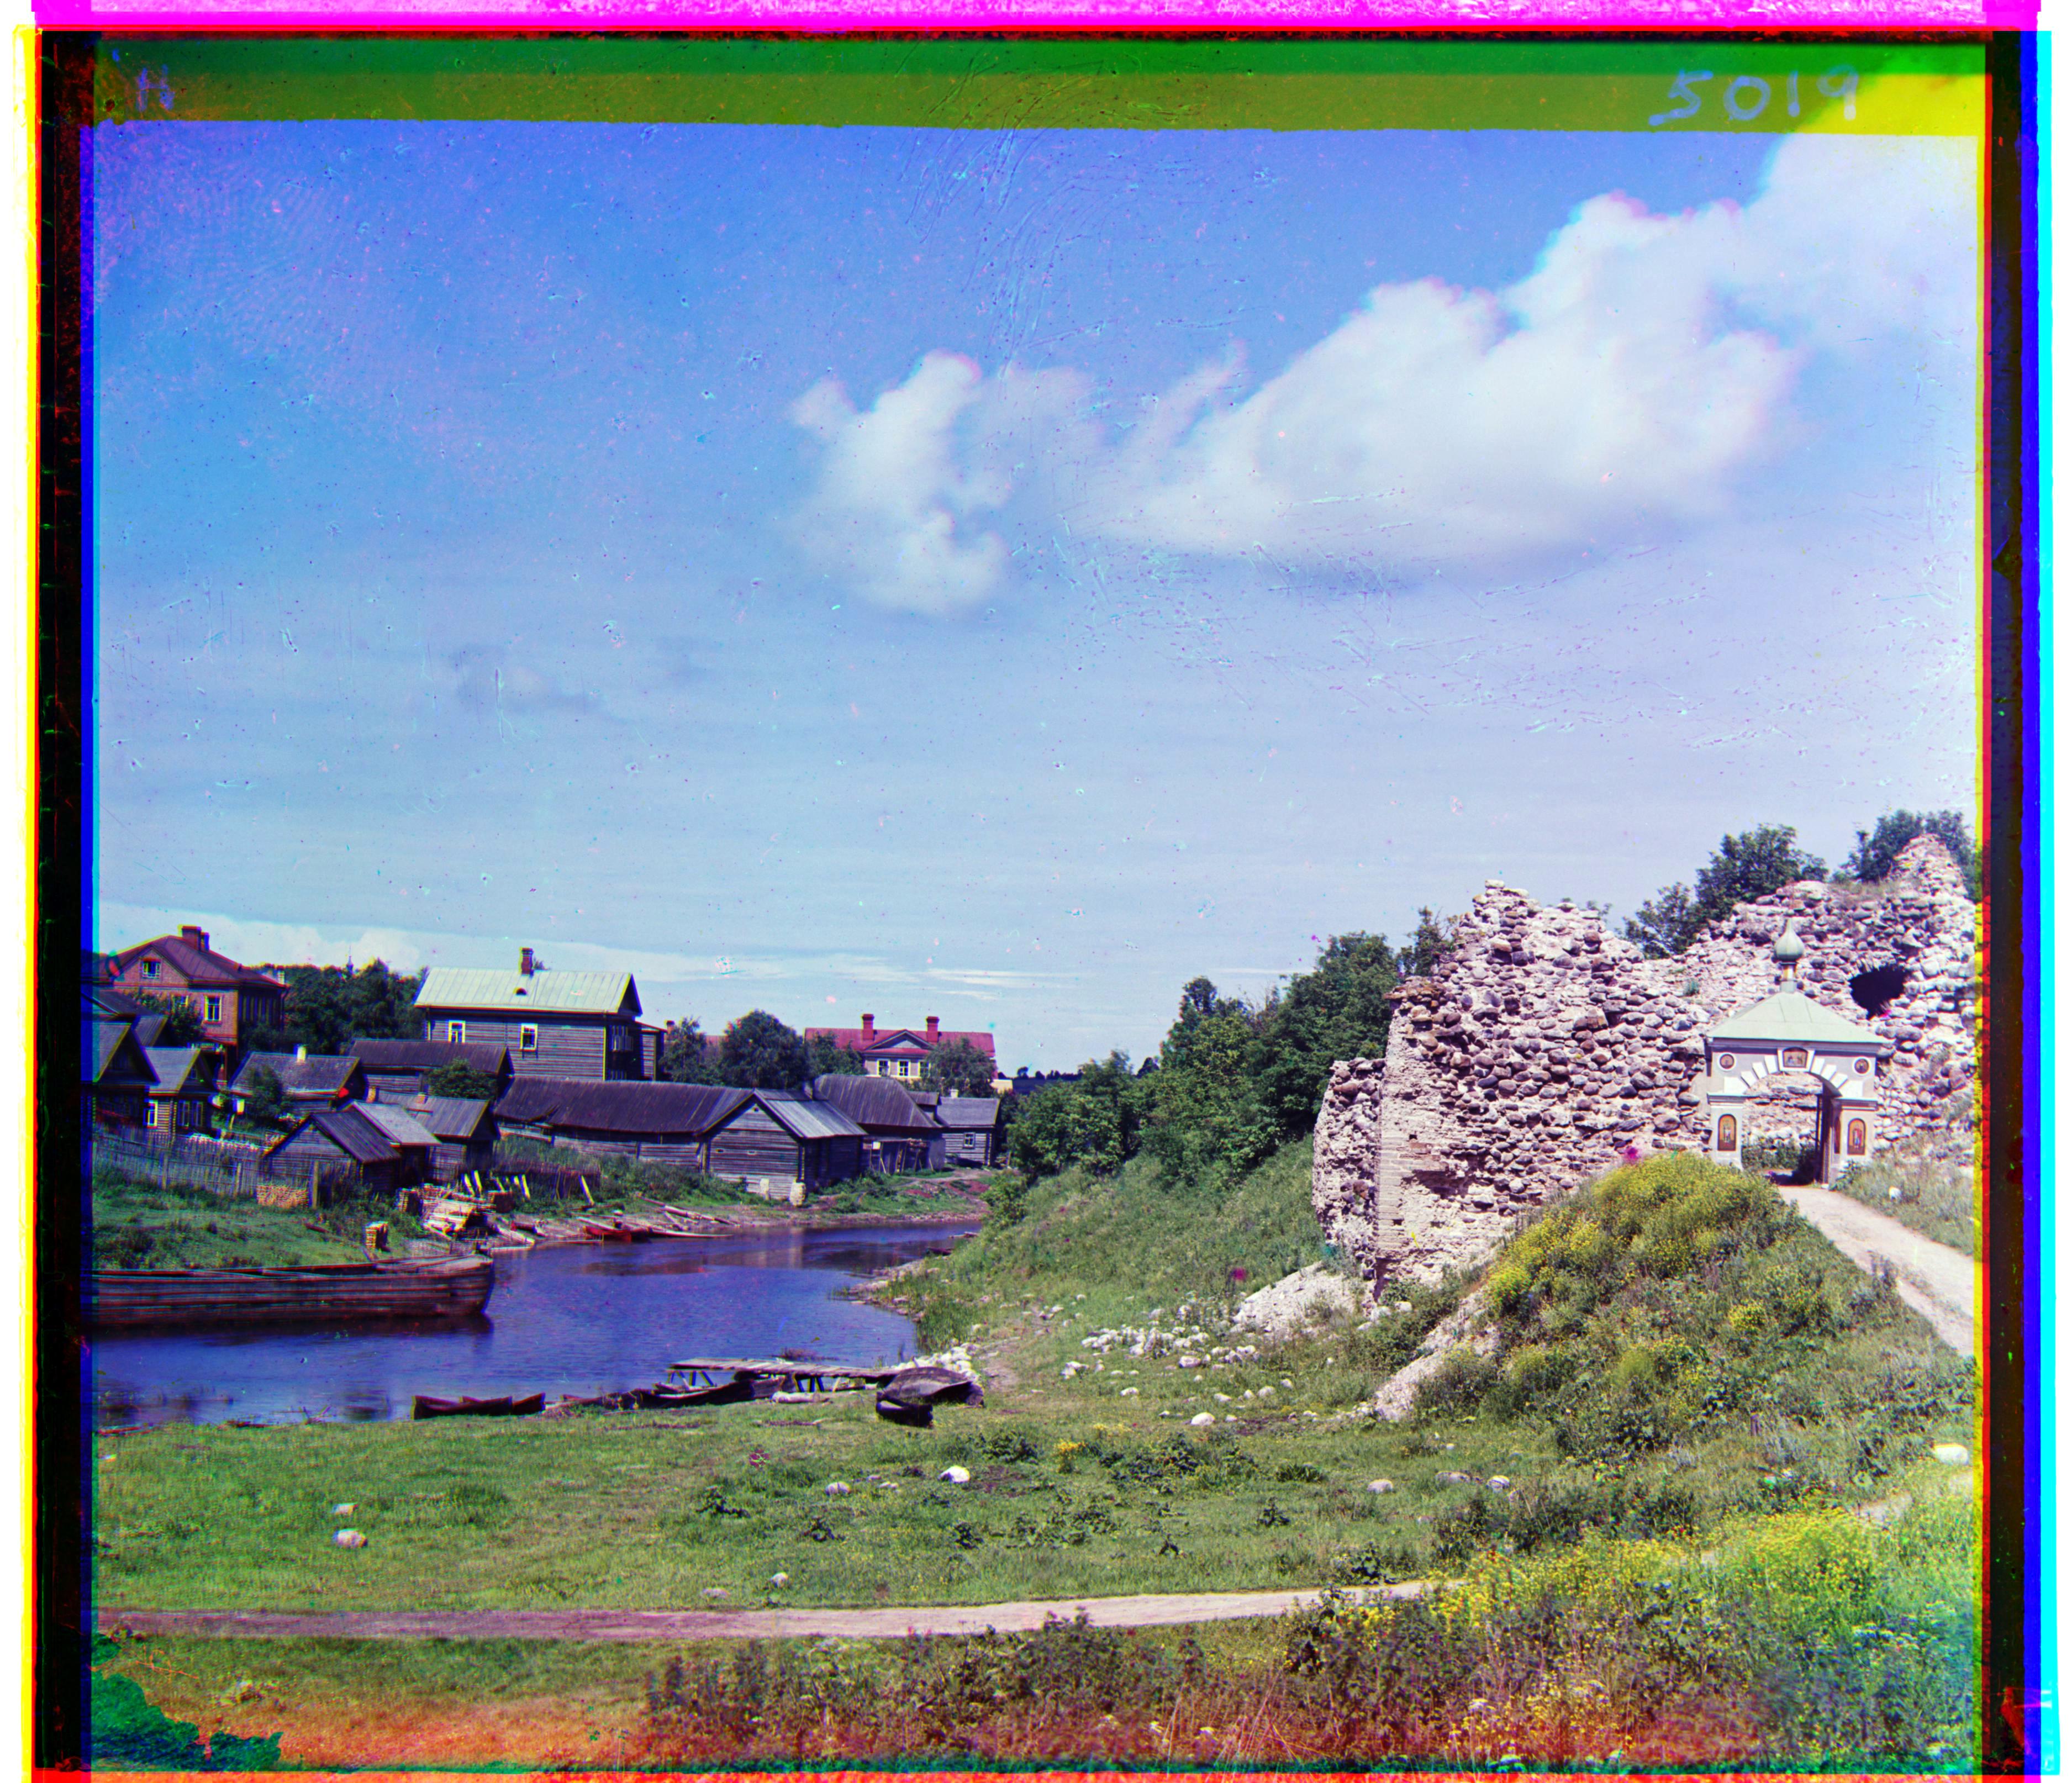
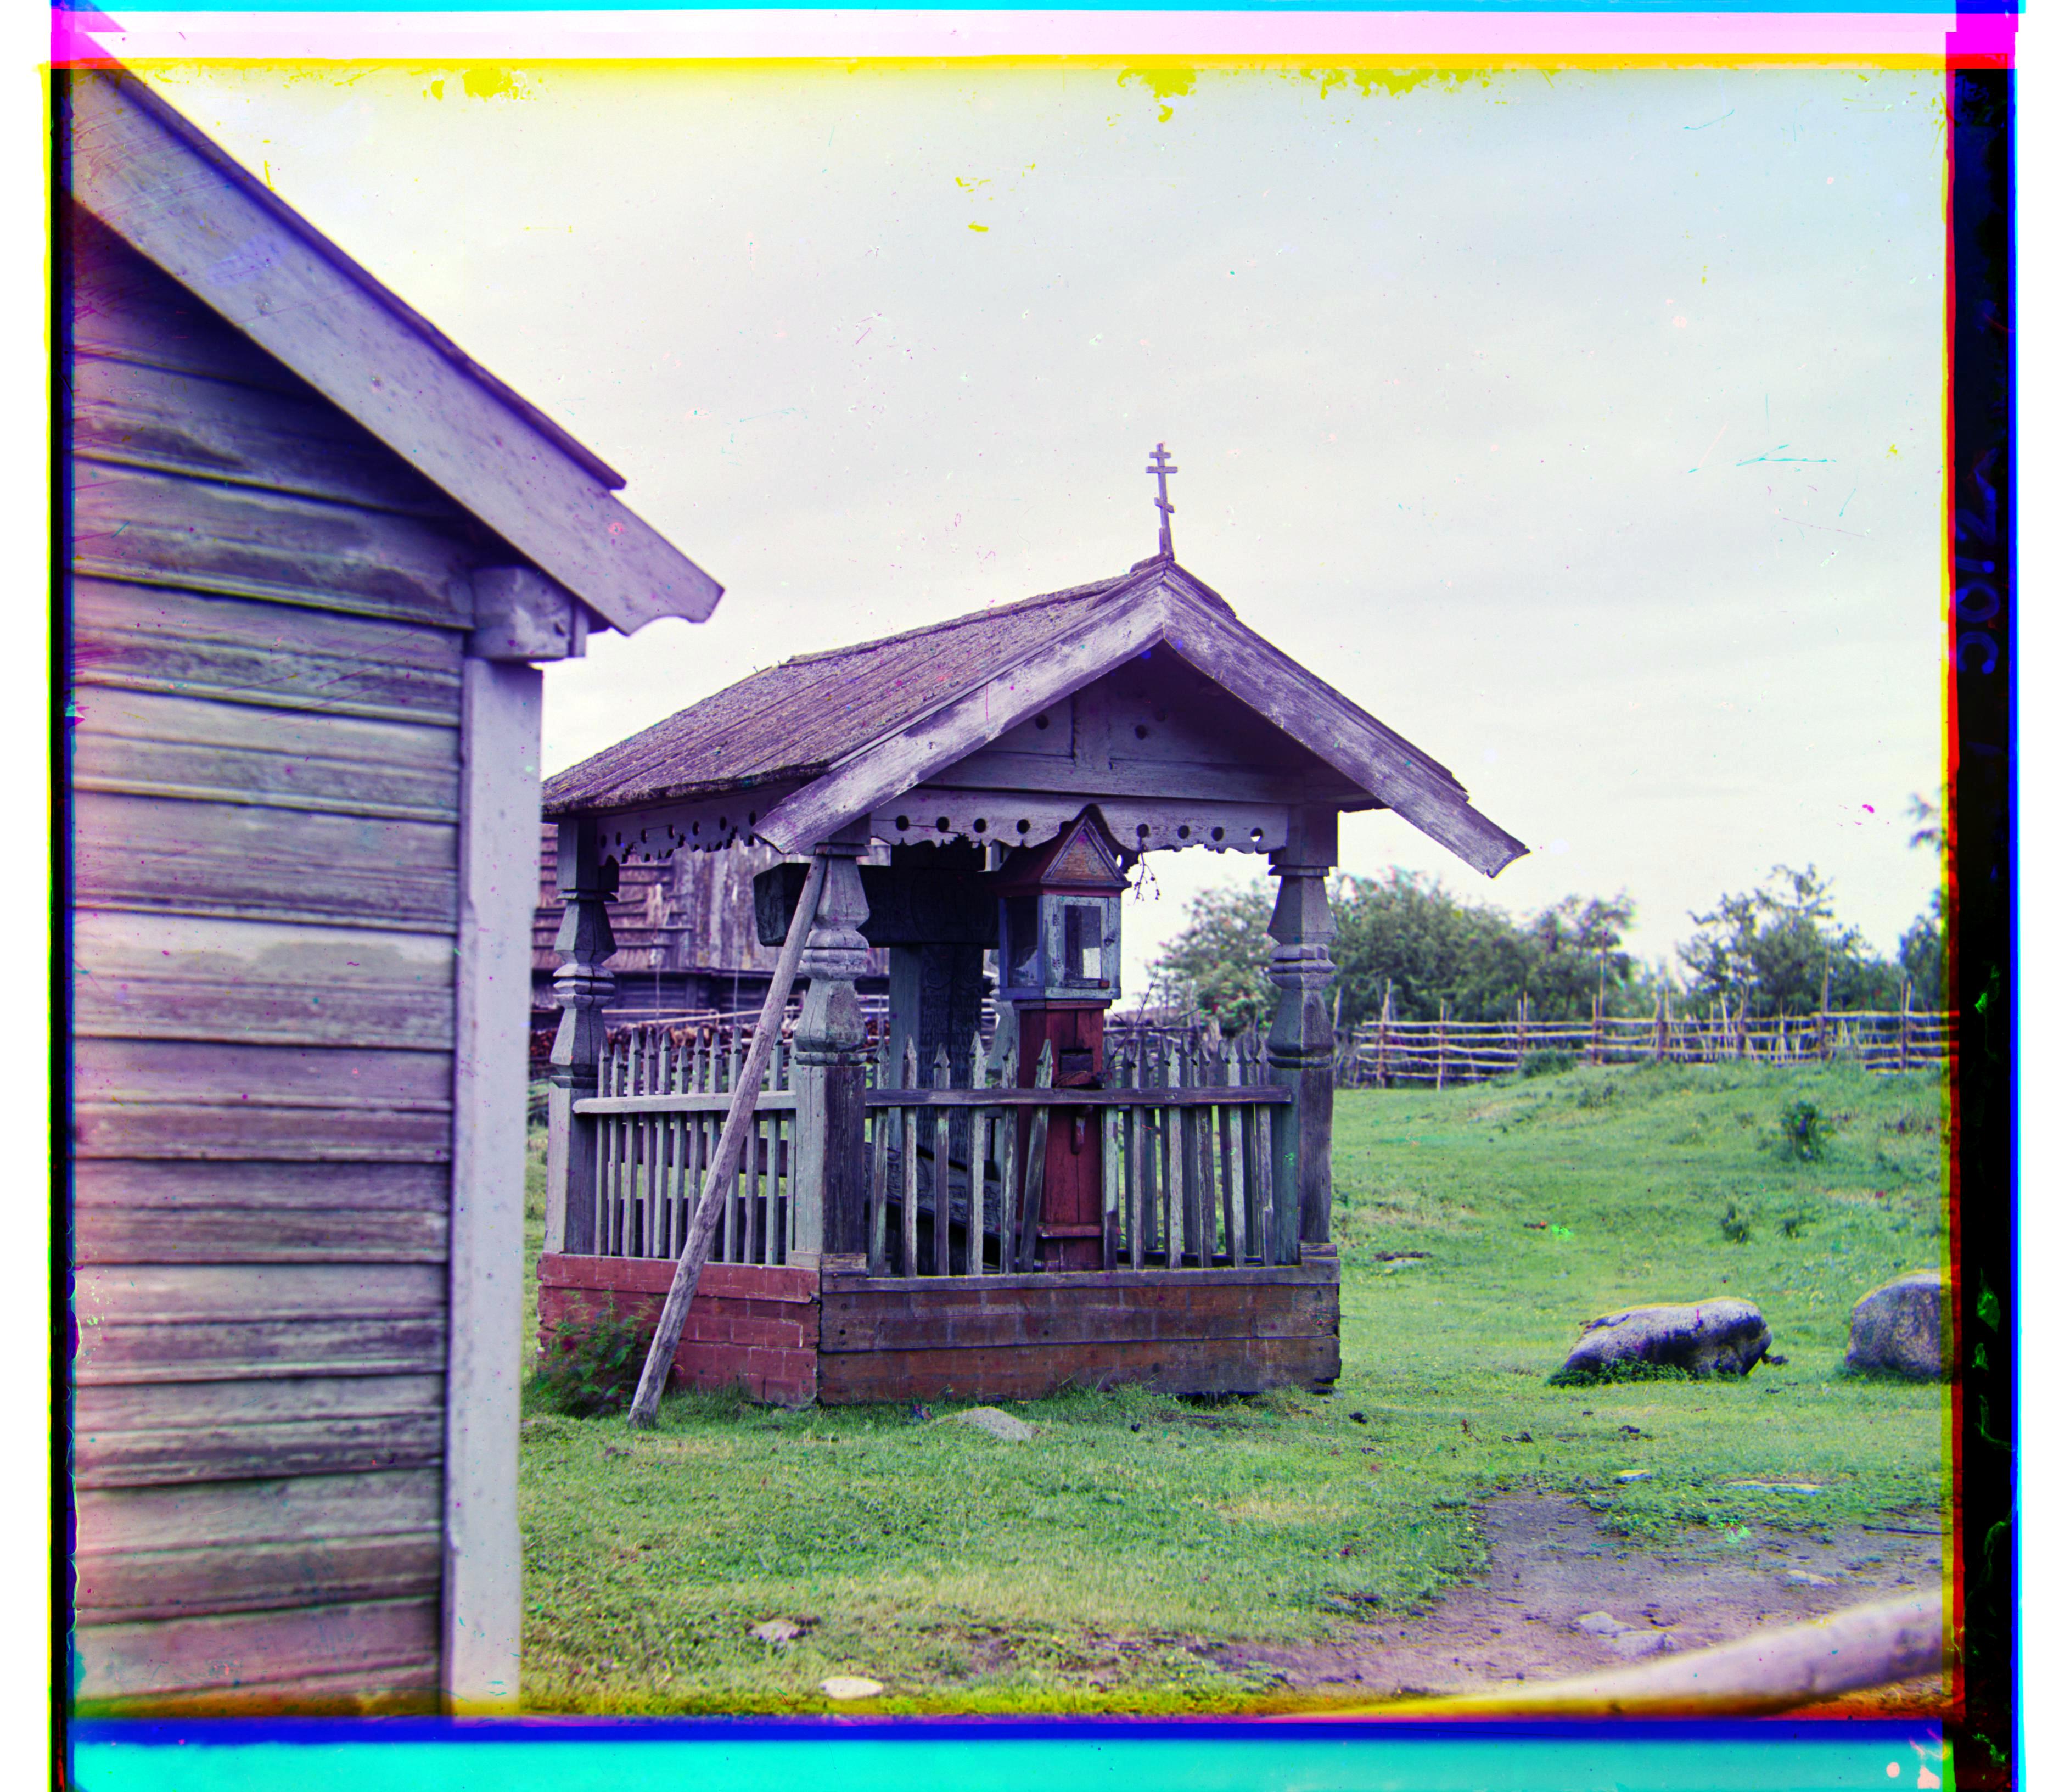
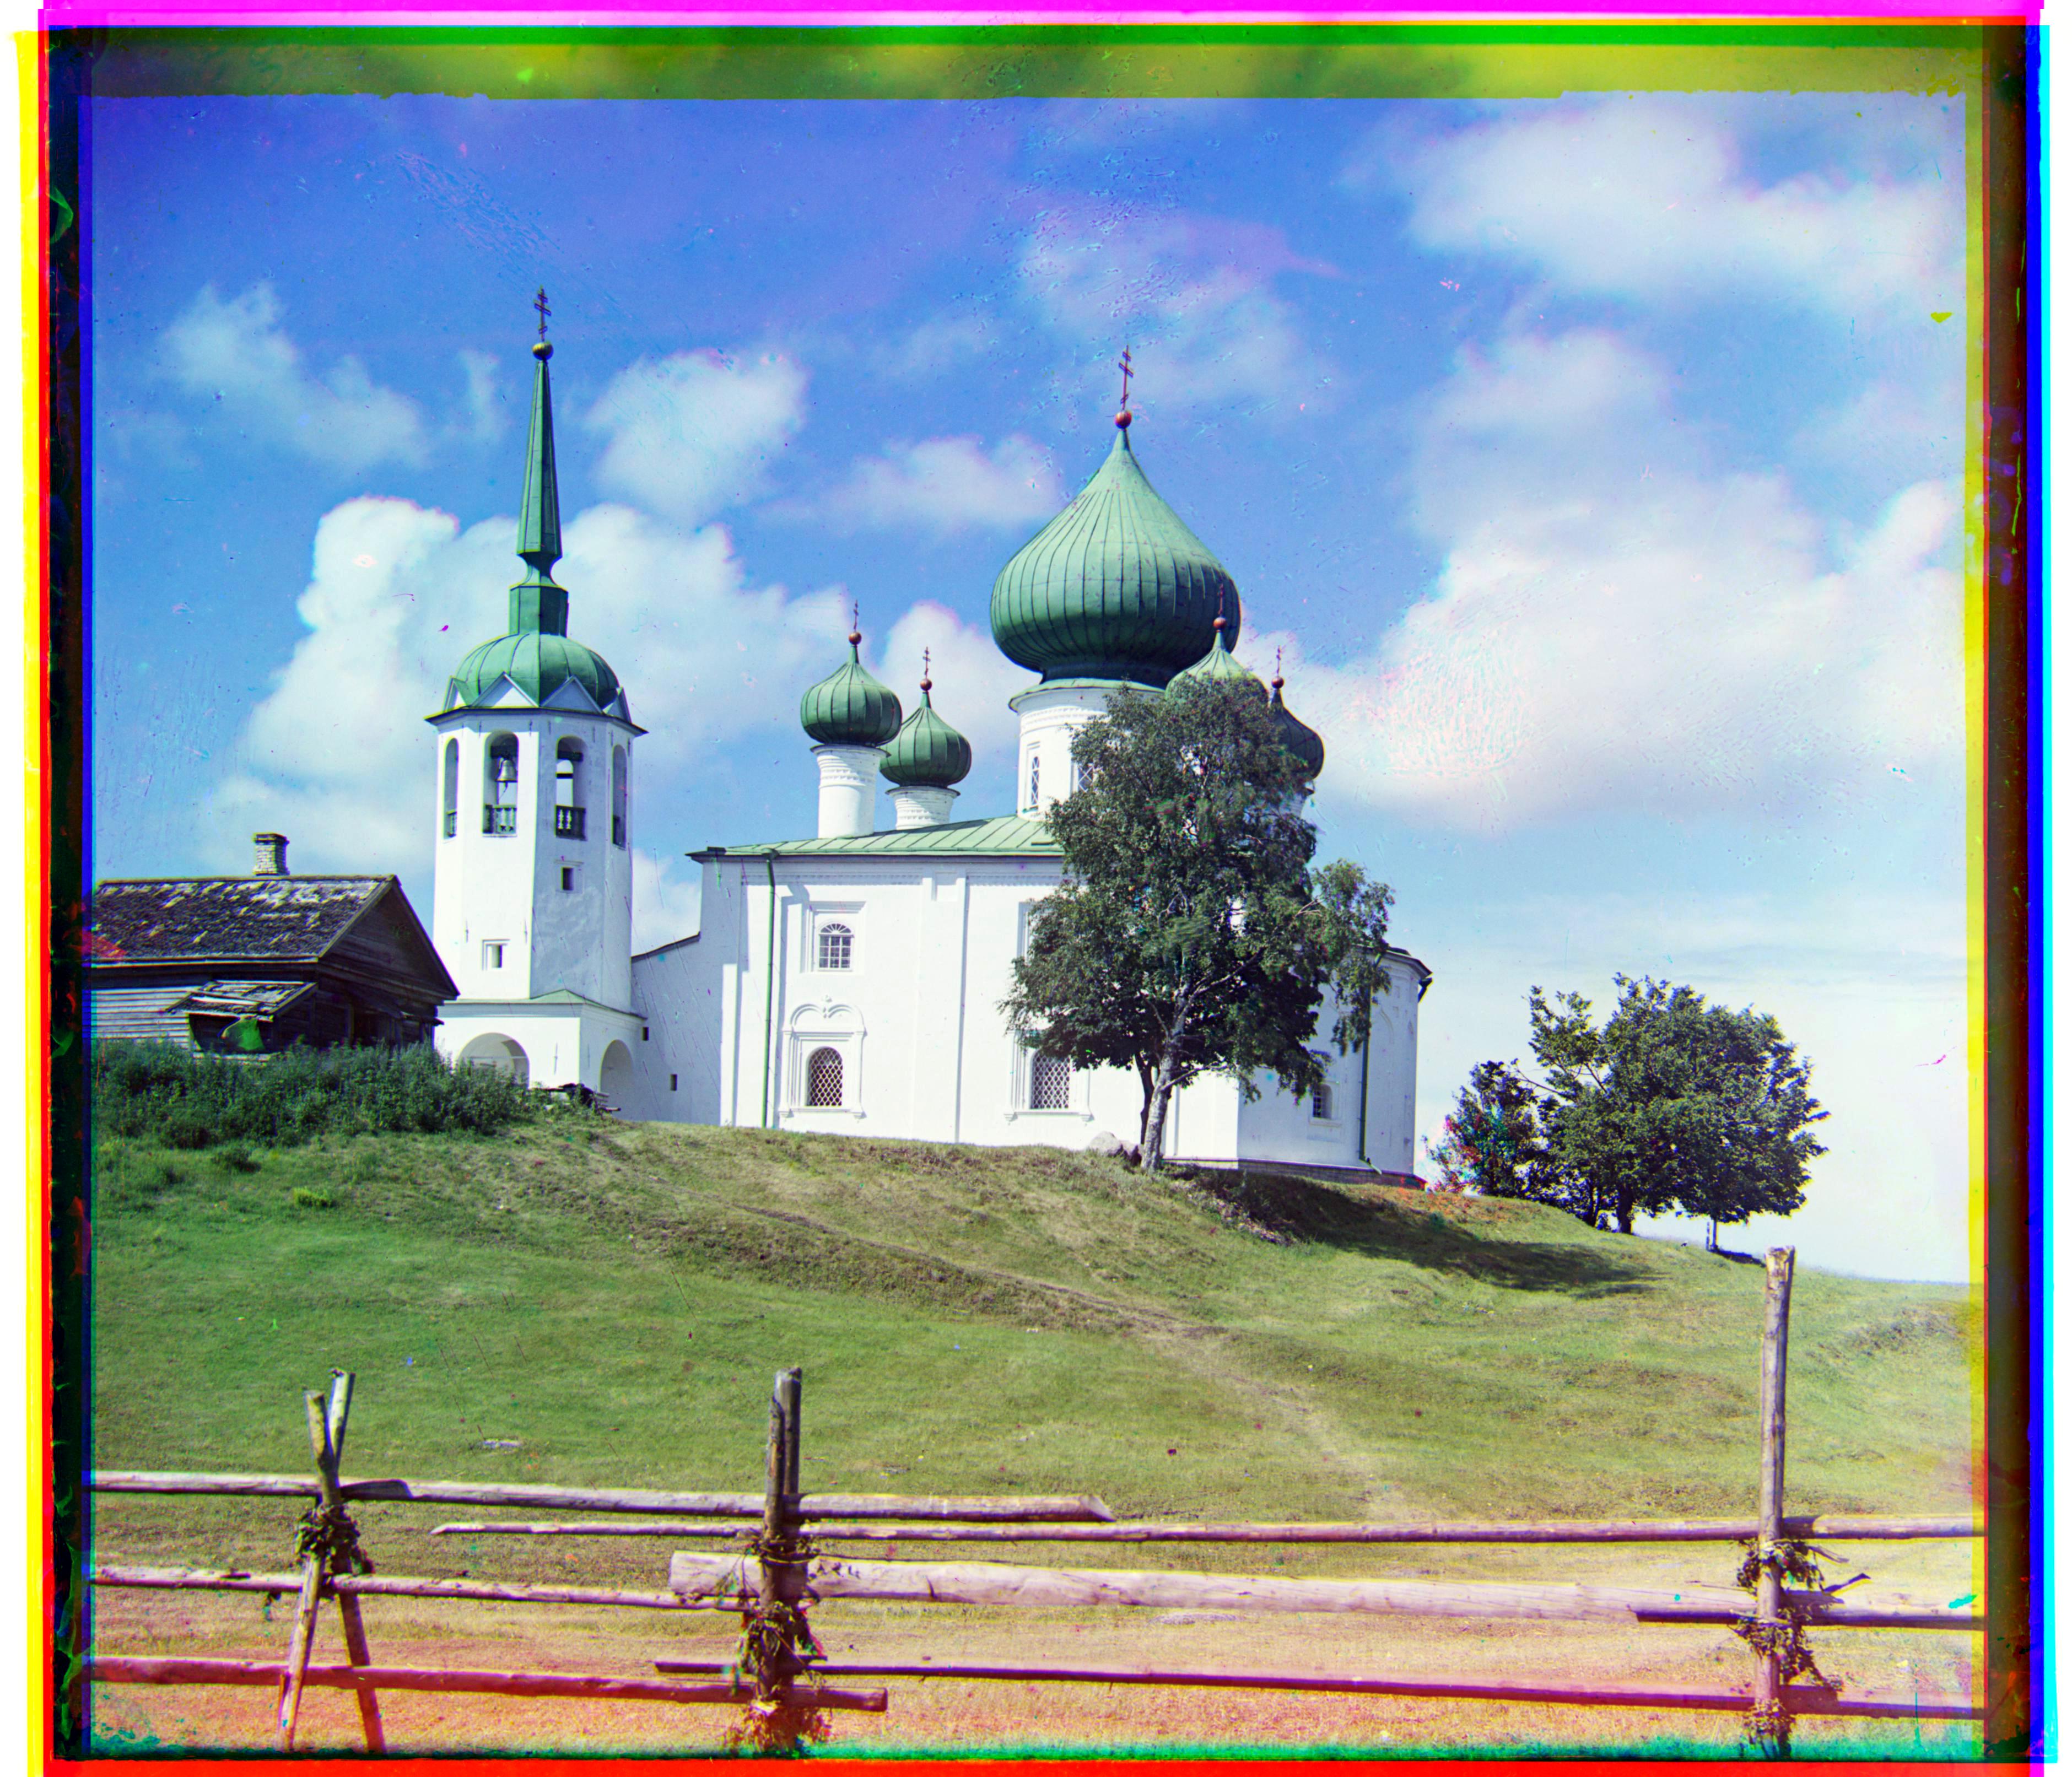
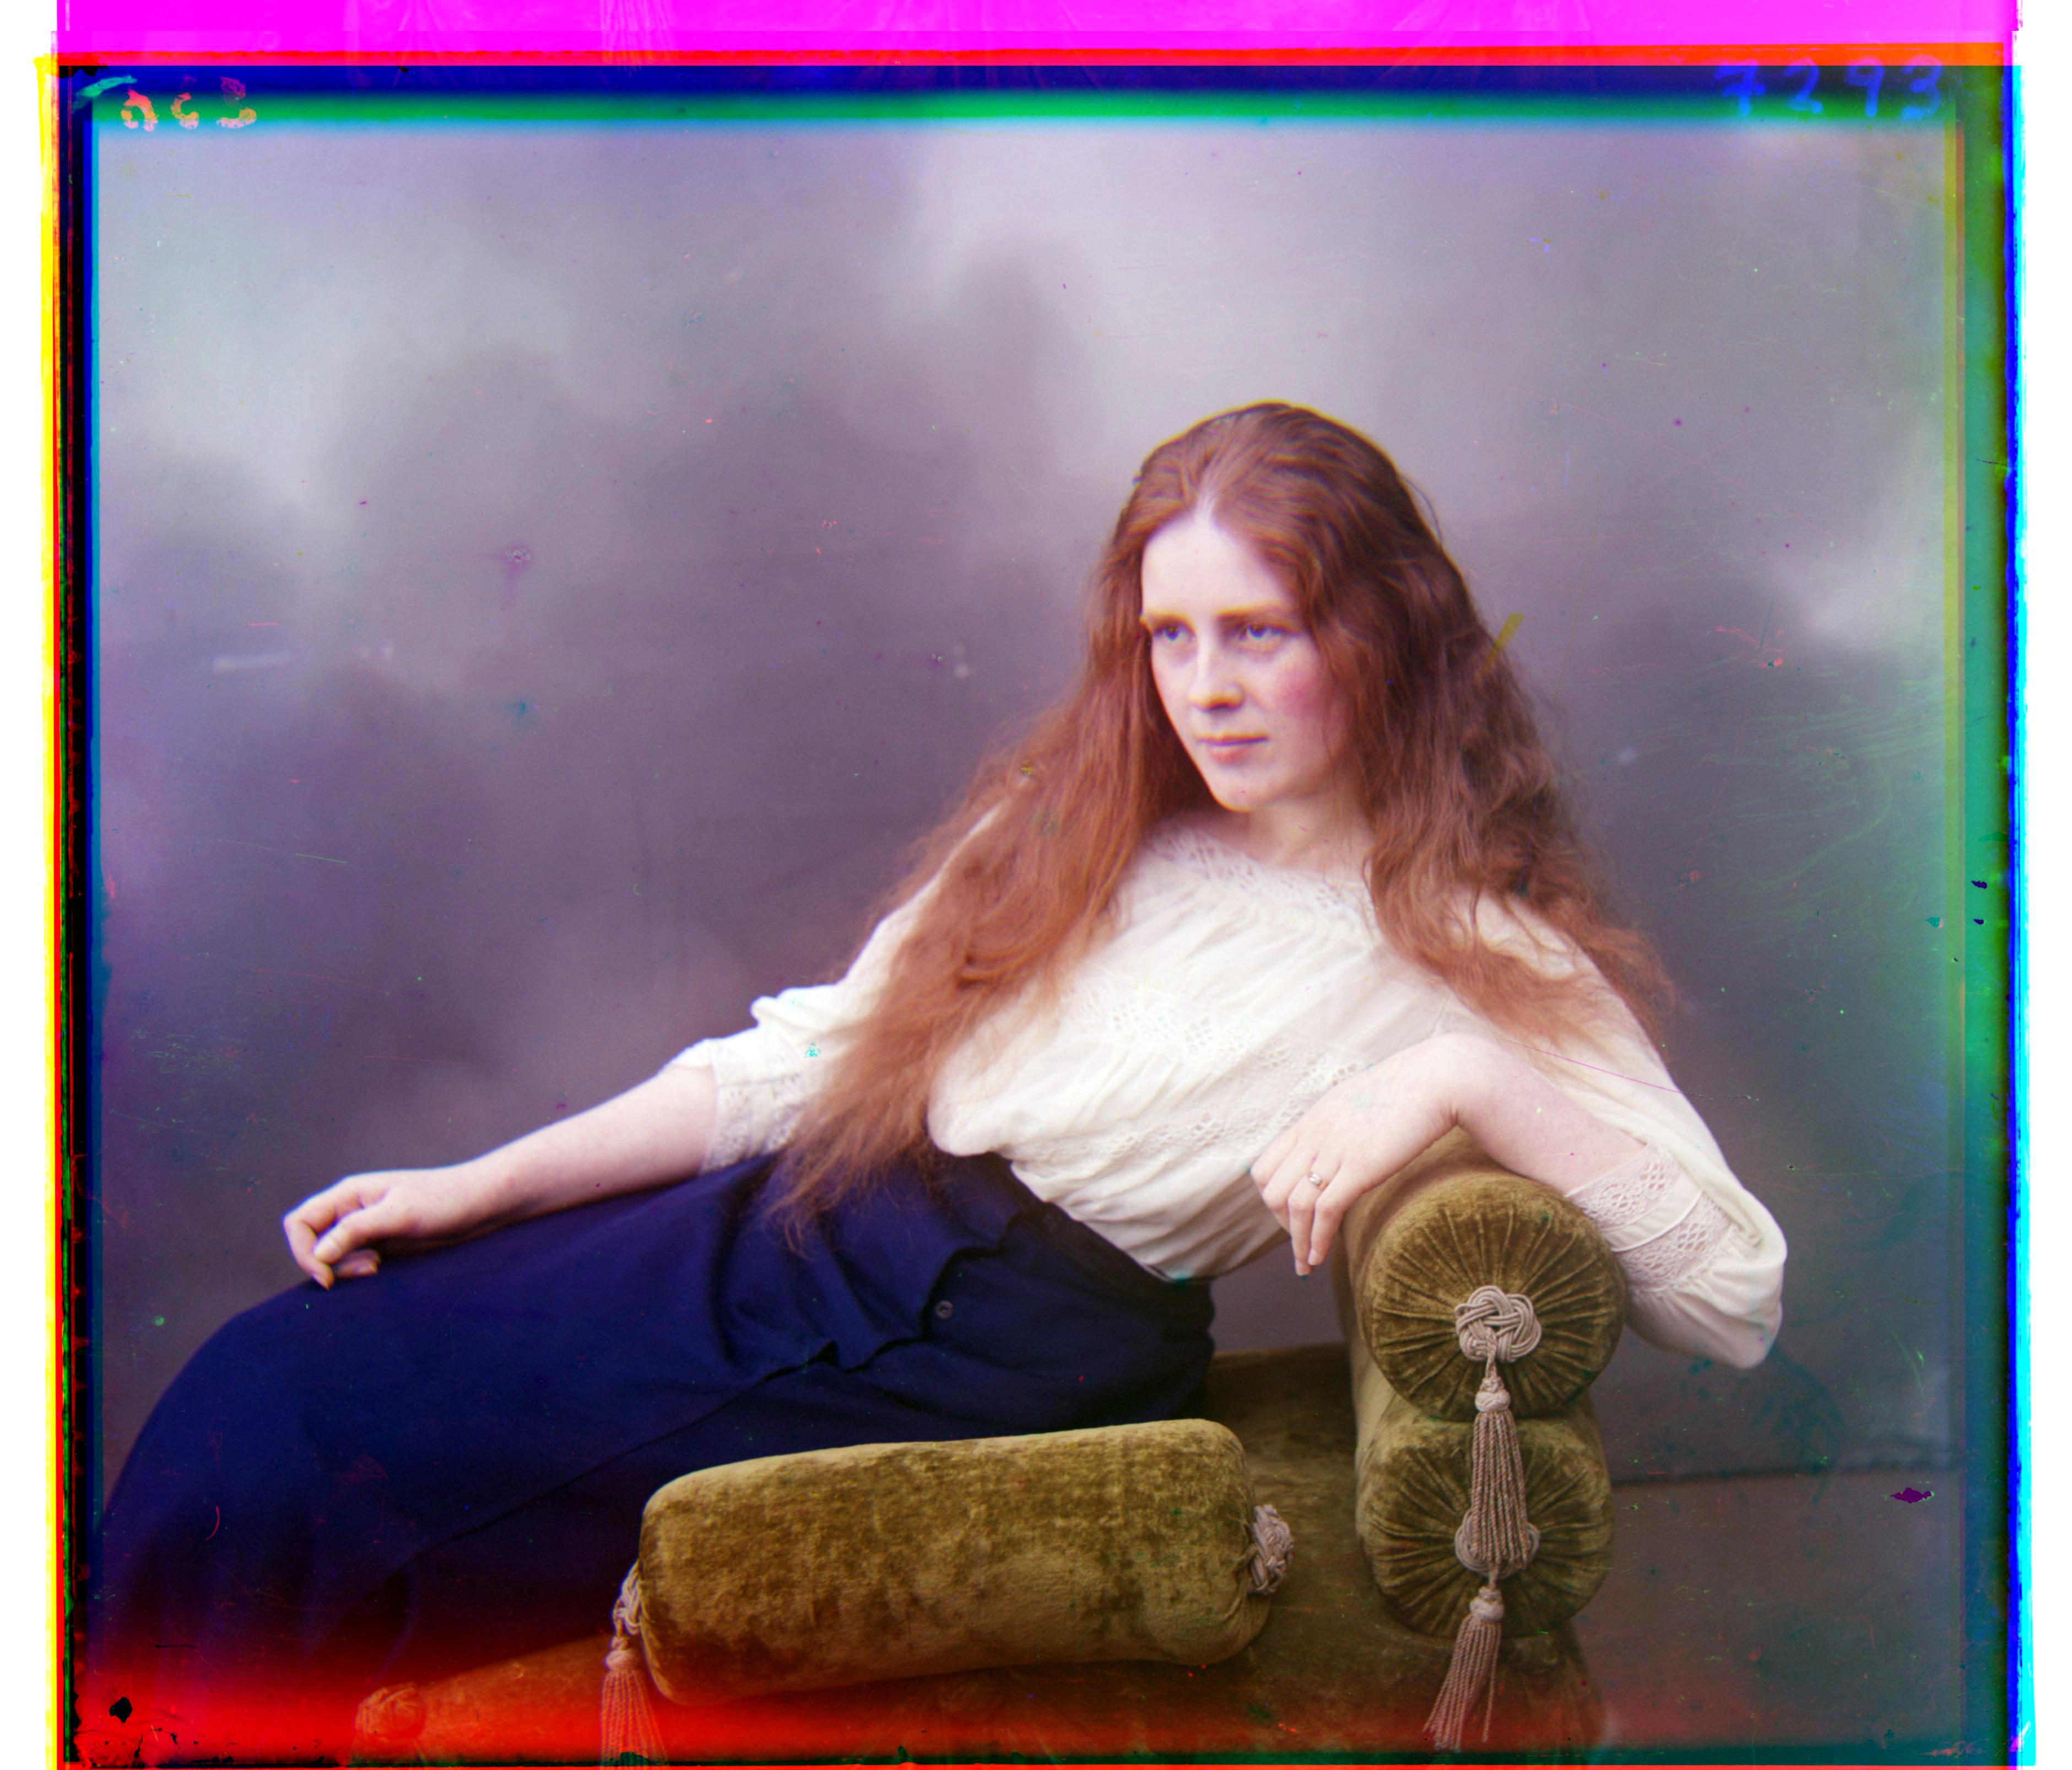
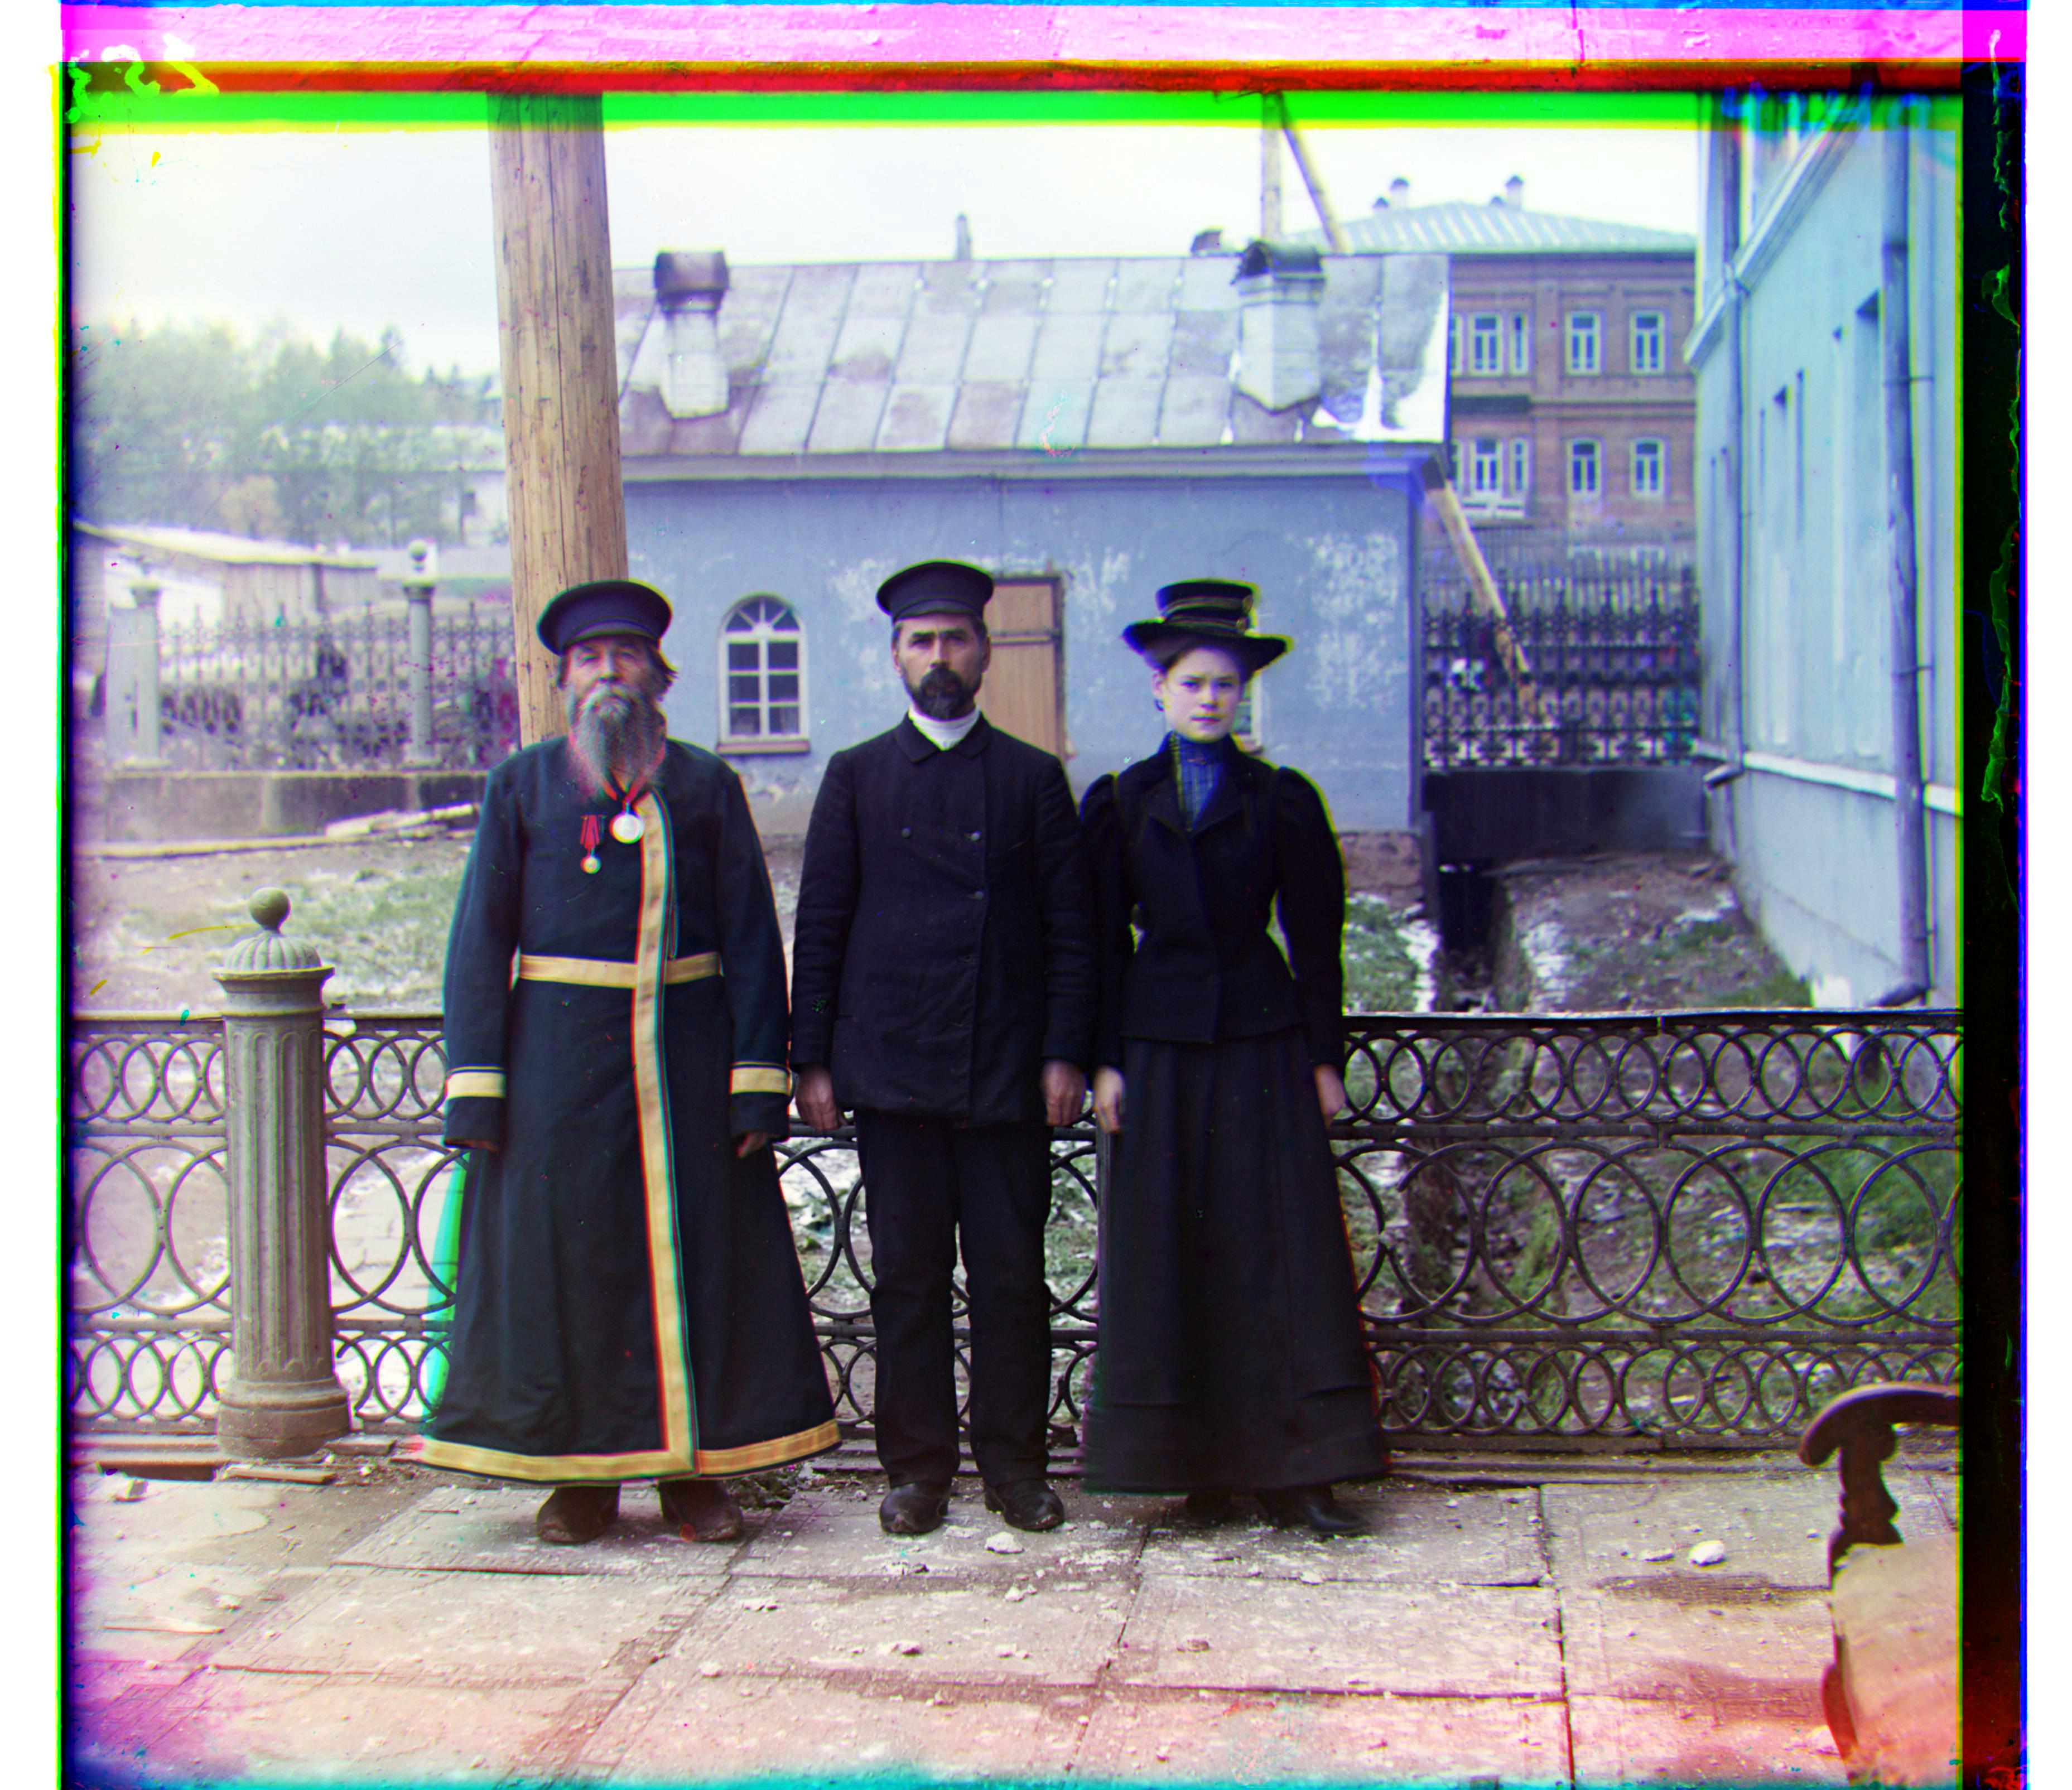
Here is the algorithm run on several other images by Prokudin-Gorsky. All of these images were run with edge detection, automatic contrasting, and automatic white balancing enabled. These images were found at the Library of Congress.
